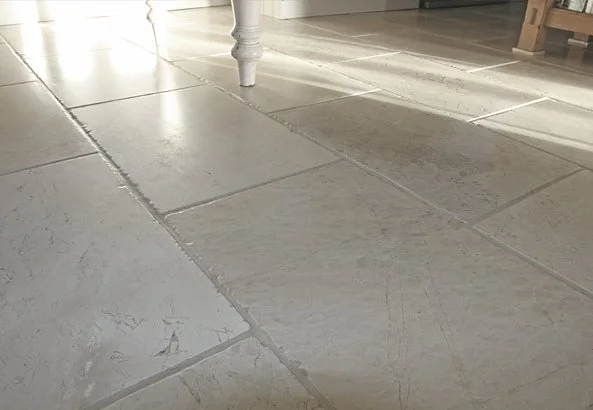
How to Clean a Natural Stone Floor
Your new or existing natural stone floor when laid would, with any luck, have been well sealed to protect it from the grime and grease that every day traffic throws at it. And a lot of traffic it certainly gets – particularly hallways and kitchens have an endless stream of muddy boots and perhaps even dogs paws!
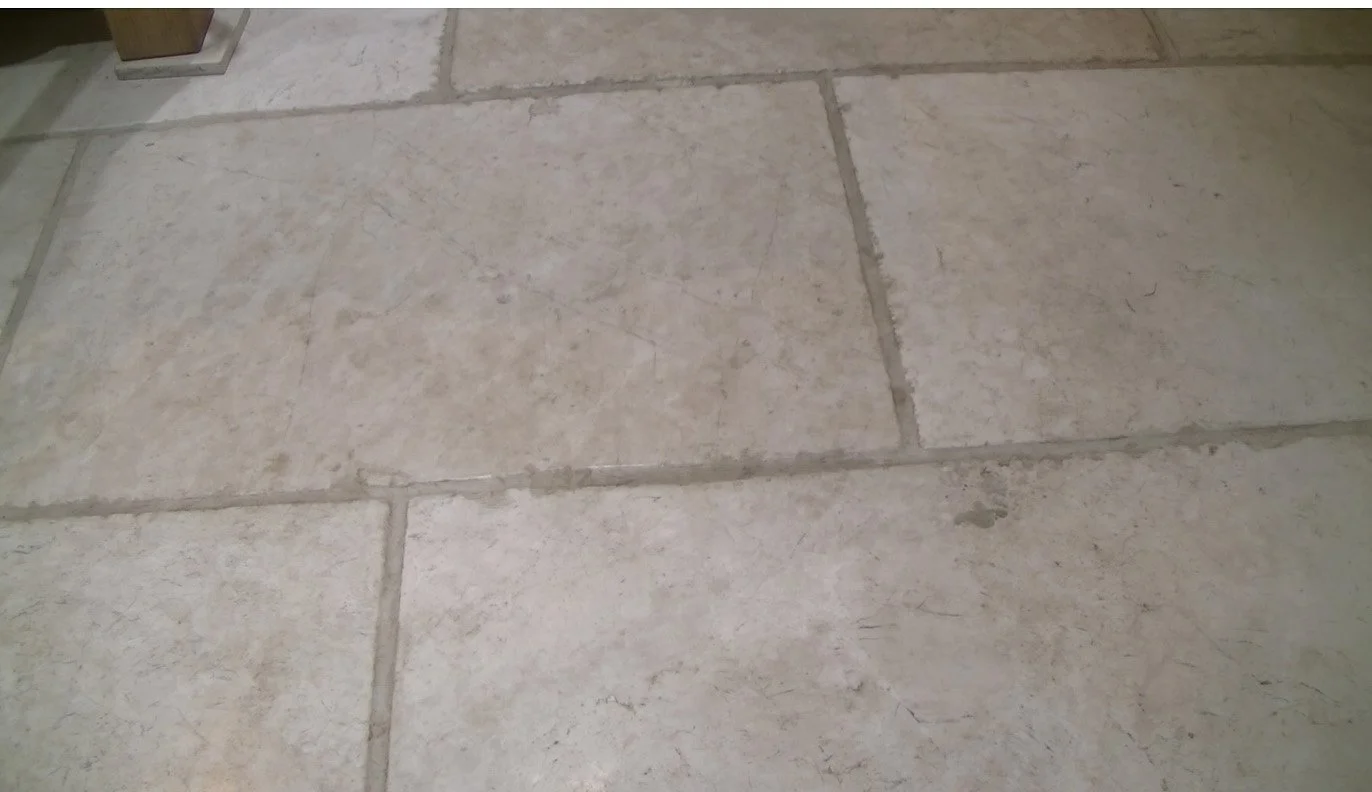
The marble floor in our kitchen prior to cleaning
The problem is that the more you clean your floor (even with the cleaning products recommended by the flooring supplier) the more you erode the sealant that was originally applied, and that becomes a vicious circle, because dirt then sinks into the floor easier and is therefore harder to remove. The grout between each tile is hit particularly badly. It becomes a sponge for all the dirt and grime, and is very hard to clean with every day floor detergents.
So every 12 to 18 months or so (don’t worry, for me it was more like 3 years!) you really ought to give your floor a deep clean, and then reseal it. That way you’re preserving the life of the floor, and making your life a whole lot easier on the cleaning front.
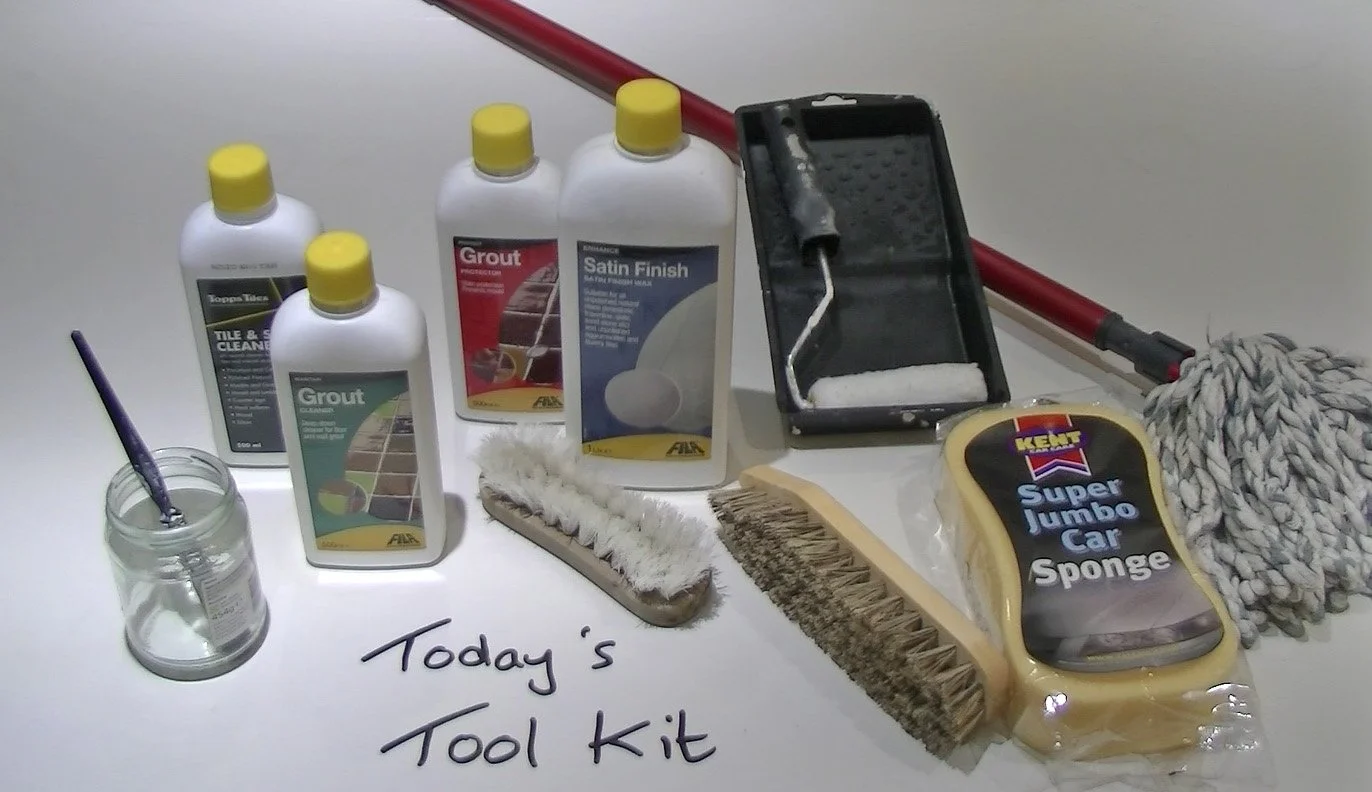
The floor cleaning products that I’ve assembled to sort out my kitchen floor
So just before Christmas, with a house party looming, I decided it was about time I sorted out my kitchen floor.
The products pictured above were all bought from Topps Tiles, but the FILA products have now been replaced by Topps Tiles own brands. So here’s the Tool Kit I used to clean my marble floor (take a deep breath before reading on – these products aren’t cheap!):
Tile and Stone Cleaner (£8.99) – for every day cleaning of the floor
Vileda Super Mocio Micro and Cotton Mop (£10 approx)- my choice of mop for cleaning the floor
Tile and Stone Stain Remover (£10.99)
Grout Cleaner (£10.99) – to attack and remove the dirt that has sunk into the grout
Paint brush and jar – to apply the Grout Cleaner and Grout Protector
Scrubbing brush – to remove the dirt from the grout
Large sponge (£2 approx) – to wipe off the Grout Cleaner once it’s done its job
Grout Protector (£18.99) – to seal the grout once you’ve got it clean
Satin Effect Finish Wax (£19.99) – to seal the entire floor once you’ve removed all the dirt
Roller and emulsion insert (£3 approx) – to apply the two coats of Satin Effect Finish Wax to the floor
If you’ve got a travertine, marble or other natural stone floor, then the chances are, like me, you’re a bit unhappy with the degree to which it’s muddied in tone over the years (particularly the grout).
But with a bit of elbow grease and the right products you can do a pretty effective job of restoring it to something like its former glory – check out my video to see how I got on!
The key to all this is to get the floor as clean as you can – I think I did 4 laps of the kitchen floor with my Vileda mop, before I had even started cleaning the grout. You want to keep mopping the floor until the water in the bucket is no longer brown when you pour it away!
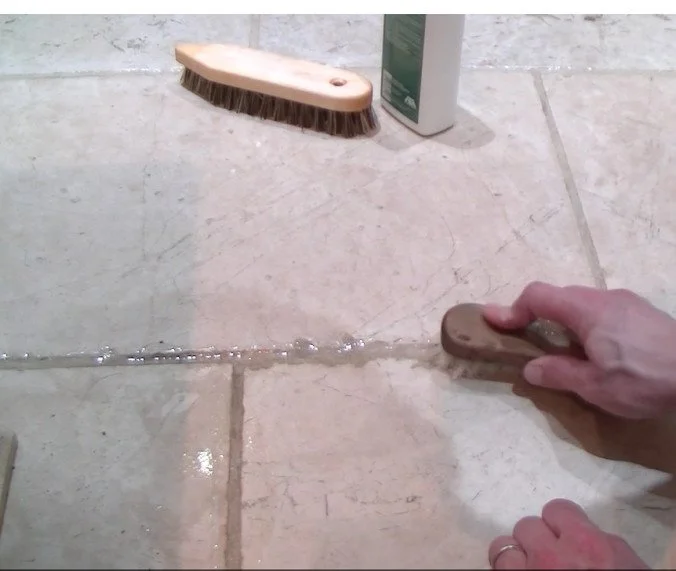
With the grout cleaner applied, a scrubbing brush quickly lifts the dirt from the grout
Then came the Grout Cleaner, which I applied with a paint brush, left for a minute or two and then scrubbed out.
The grout cleaner is incredibly effective, and you can clearly see the dirt lifting out of the grout. A large sponge is then used to wipe up the dirt and grout cleaner, rinsing well and regularly in a bucket of water.
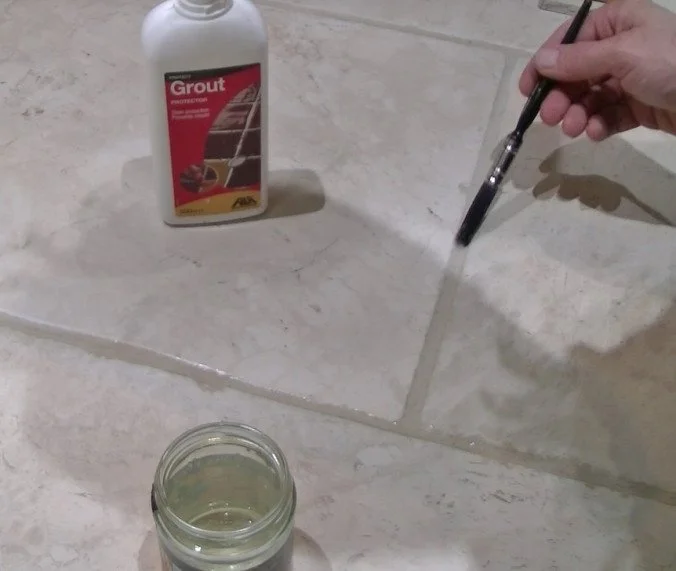
Applying the Grout Protector to seal the grout
Then came the Grout Cleaner, which I applied with a paint brush, left for a minute or two and then scrubbed out. The grout cleaner is incredibly effective, and you can clearly see the dirt lifting out of the grout.
A large sponge is then used to wipe up the dirt and grout cleaner, rinsing well and regularly in a bucket of water.
Once the grout was dry I then applied a coat of Grout Protector to all the grout lines, to seal the grout.
The final and most important step: when the Grout Protector was dry I then applied two coats of Satin Effect Finish Wax to the floor using a roller with a medium pile emulsion roller sleeve. Applying two coats doubles the protection and also ensures that you don’t miss any of the floor (which is easier to do than you would think!)
As I emphasise in the video, this is the most important part of the process, because after all your hard work cleaning the floor, it is very raw and susceptible to dirt. By comprehensibly sealing the floor you are protecting it, but also making it much easier to mop clean – because none of the dirt can actually sink into the tiles or grout.
The cleaned and sealed floor – restored to its former glory!

