
How Not To Plasterboard a Wall: Mould
12 years ago, a team of builders glued a load of standard plasterboard on our kitchen walls without telling me. I’m going to show you what I found when I ripped this off, whether it was wrong, whether it matters, and what I’m thinking of doing when I put this room back together. Click here to below to watch the video.
project recap
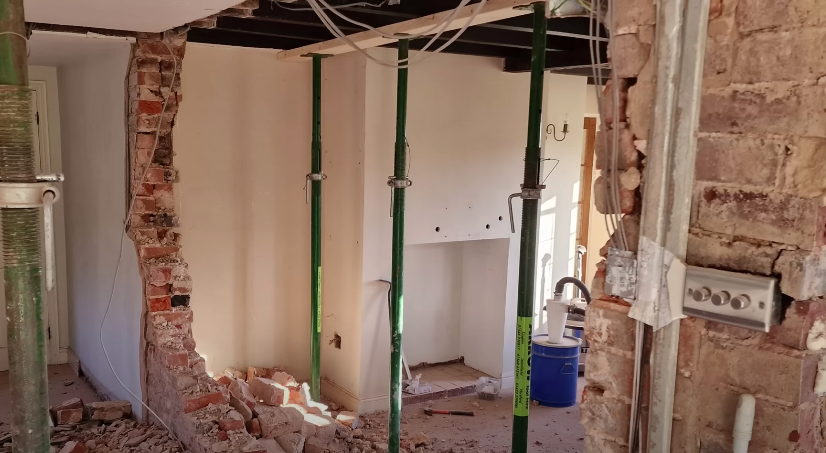
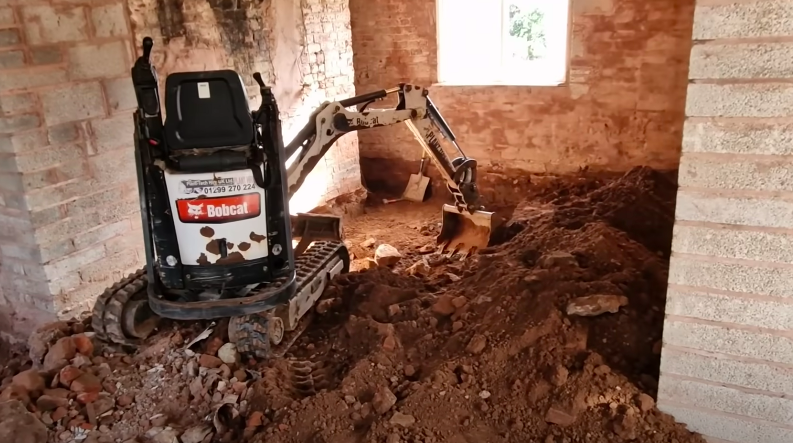
So, a quick recap on why I’m in this mess. I’ve recently knocked out a wall in the kitchen, whacked a steel in the roof, and have dug out an epic amount of the floor - 400mm down to be precise - to put an underfloor heating system in. Now, if I’m going to all the effort of putting in this super efficient thermal element, it would be crazy to leave these walls acting like a fridge to all that ambient heat radiating up from the floor.
And why am I stripping the old plasterboard off? Well, a few reasons.
Firstly, we’re stripping most of the walls back to the brickwork anyway, so I wanted to check for mould and damp - you should never insulate if the walls are damp without fixing the cause.
Secondly, we’re going to be adding at least 70mm insulation to the walls, so it made sense to remove as much as possible to start with, to preserve as much internal space as possible.
dangers of dot and dab
So the builders had simply glued standard plasterboard to the walls, and there are a few problems with this:
For a wall without cavities, like mine, the plasterboard is not insulated. Clearly, a dot and dab wall will be marginally warmer than having just the brickwork. There are cold spots where the adhesive dabs are convecting the cold from the bricks directly though the plasterboard .
There’s no vapour barrier. So the moisture from the room which, being a kitchen, will be higher than most in the house, simply travels straight through the plasterboard. It will condensate where it hits that cold surface of the render or bricks behind (also known as the dew point).
Put a vapour barrier in, and I’m using the brilliant Ubakus U-valve calculator , and you can use it to instantly see the benefits in terms of it stopping the vapour from getting into that void of unventilated air, where the adhesive dabs are gluing the plasterboard to the wall. Thanks yet again to Sam on my Discord forum for finding this!
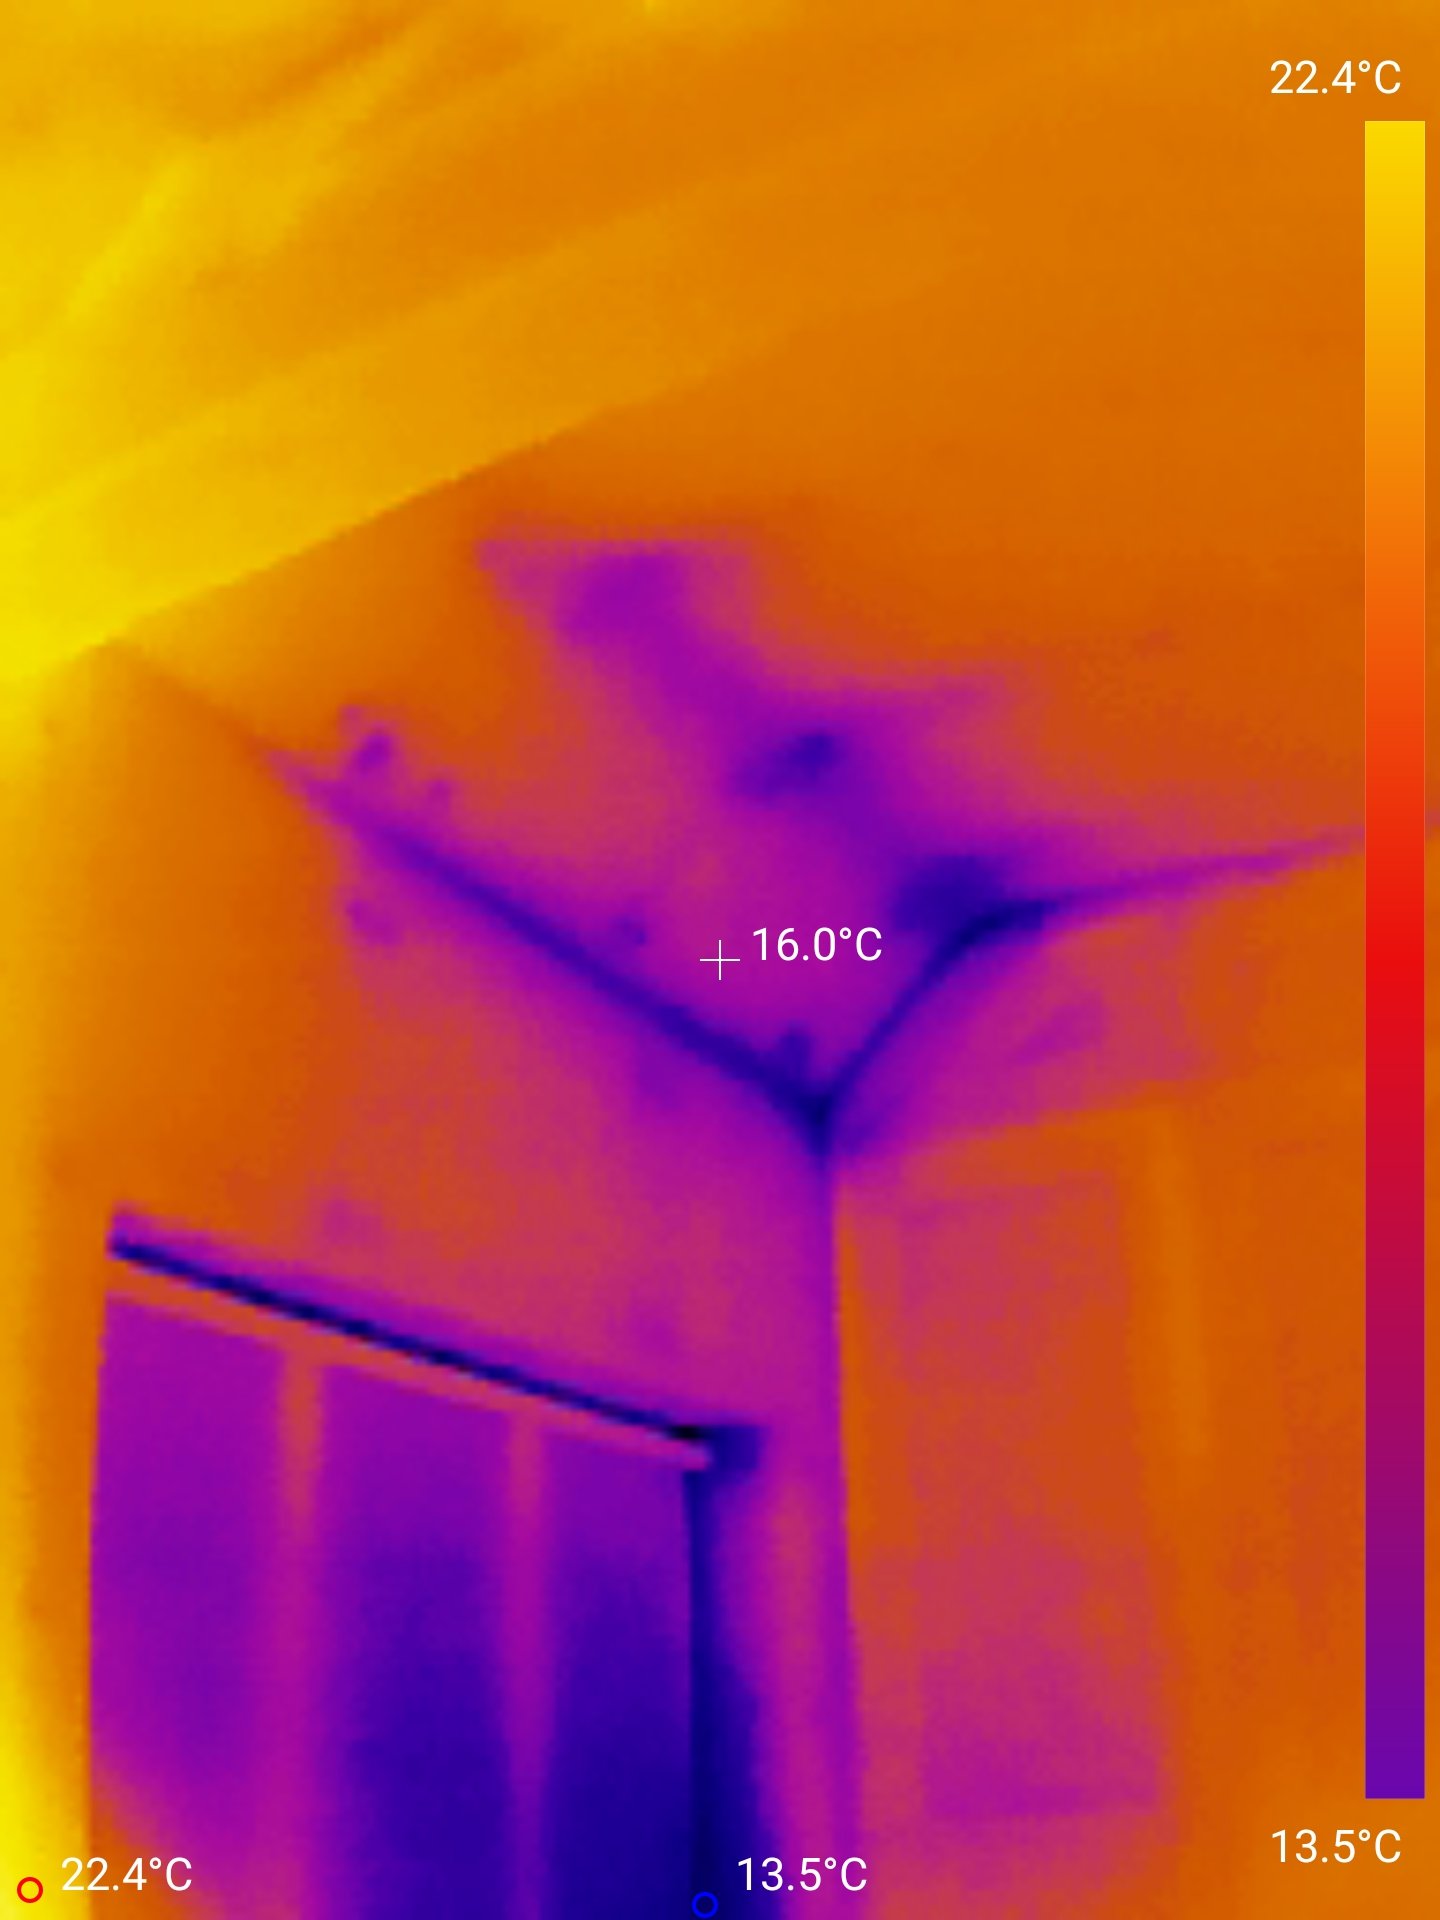
Just before we started the building works, I cut two holes in the plasterboard , and I immediately saw the mould behind.
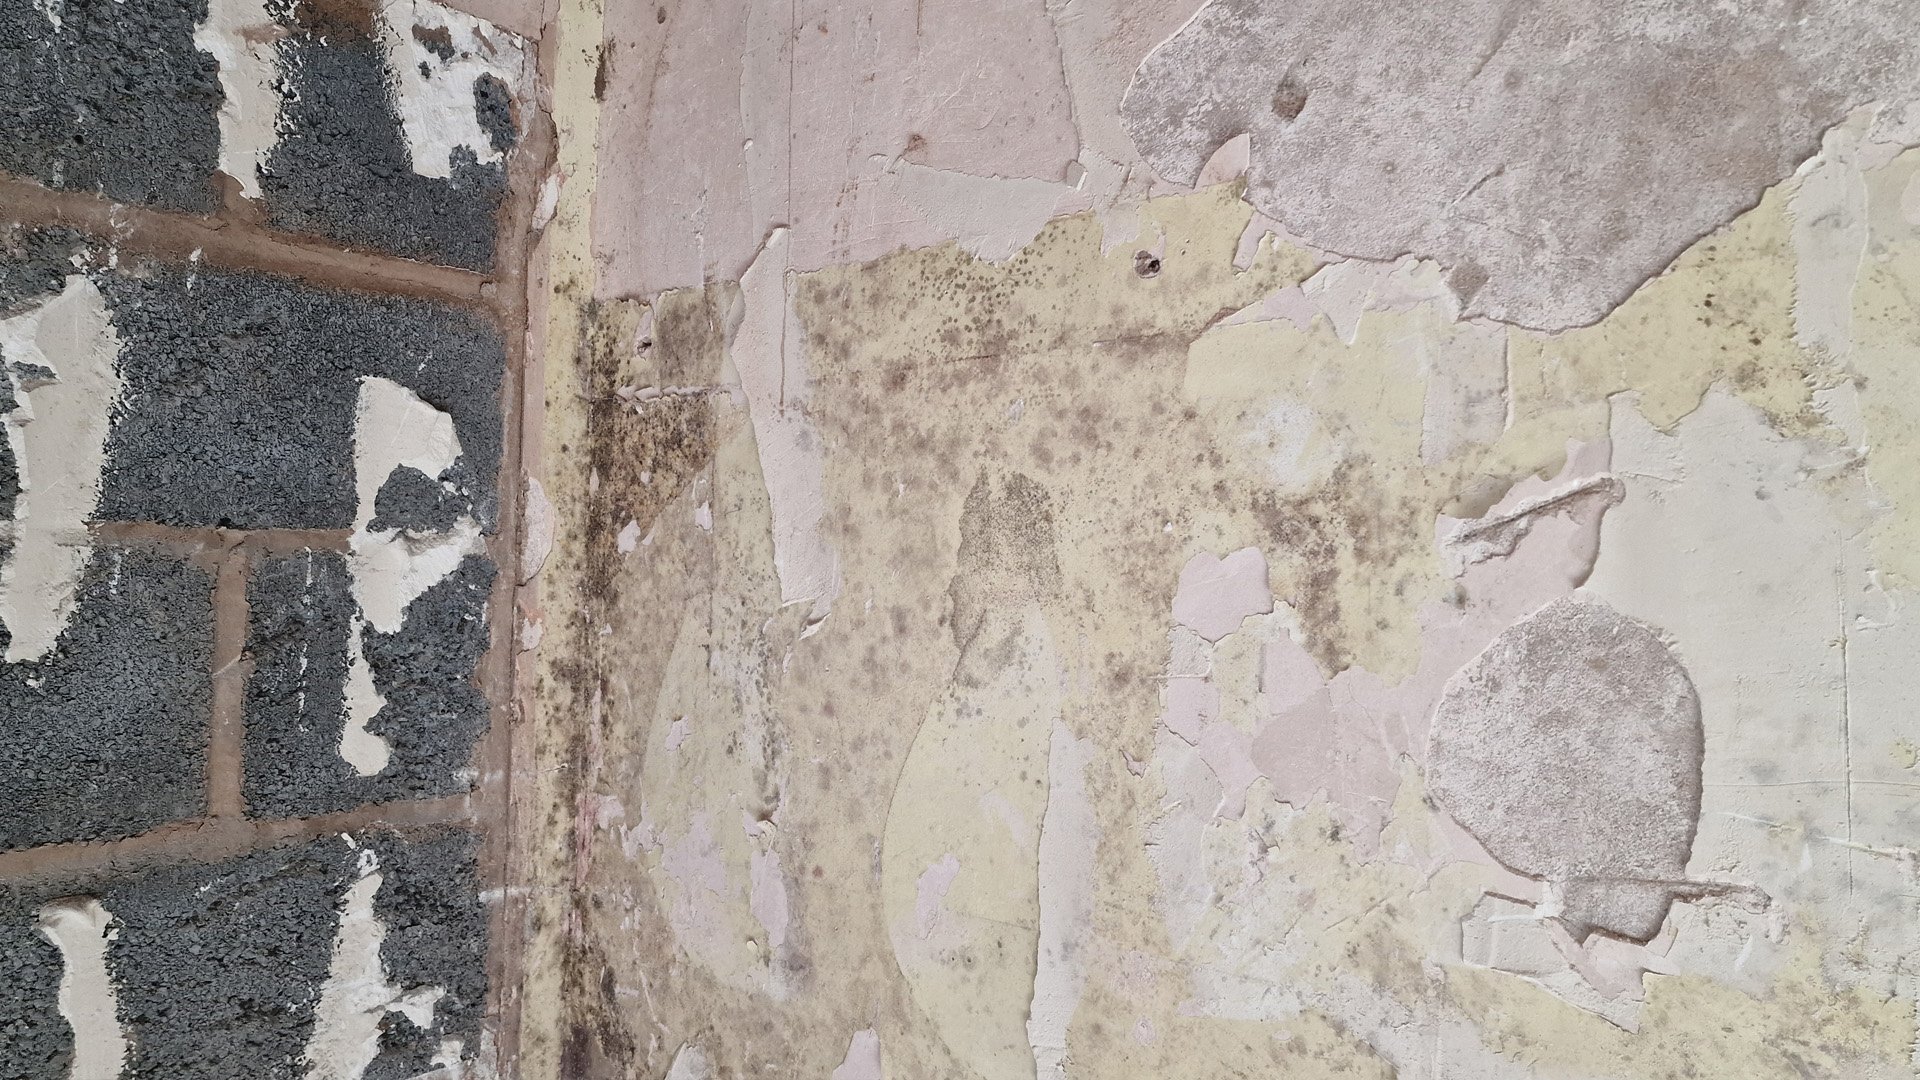
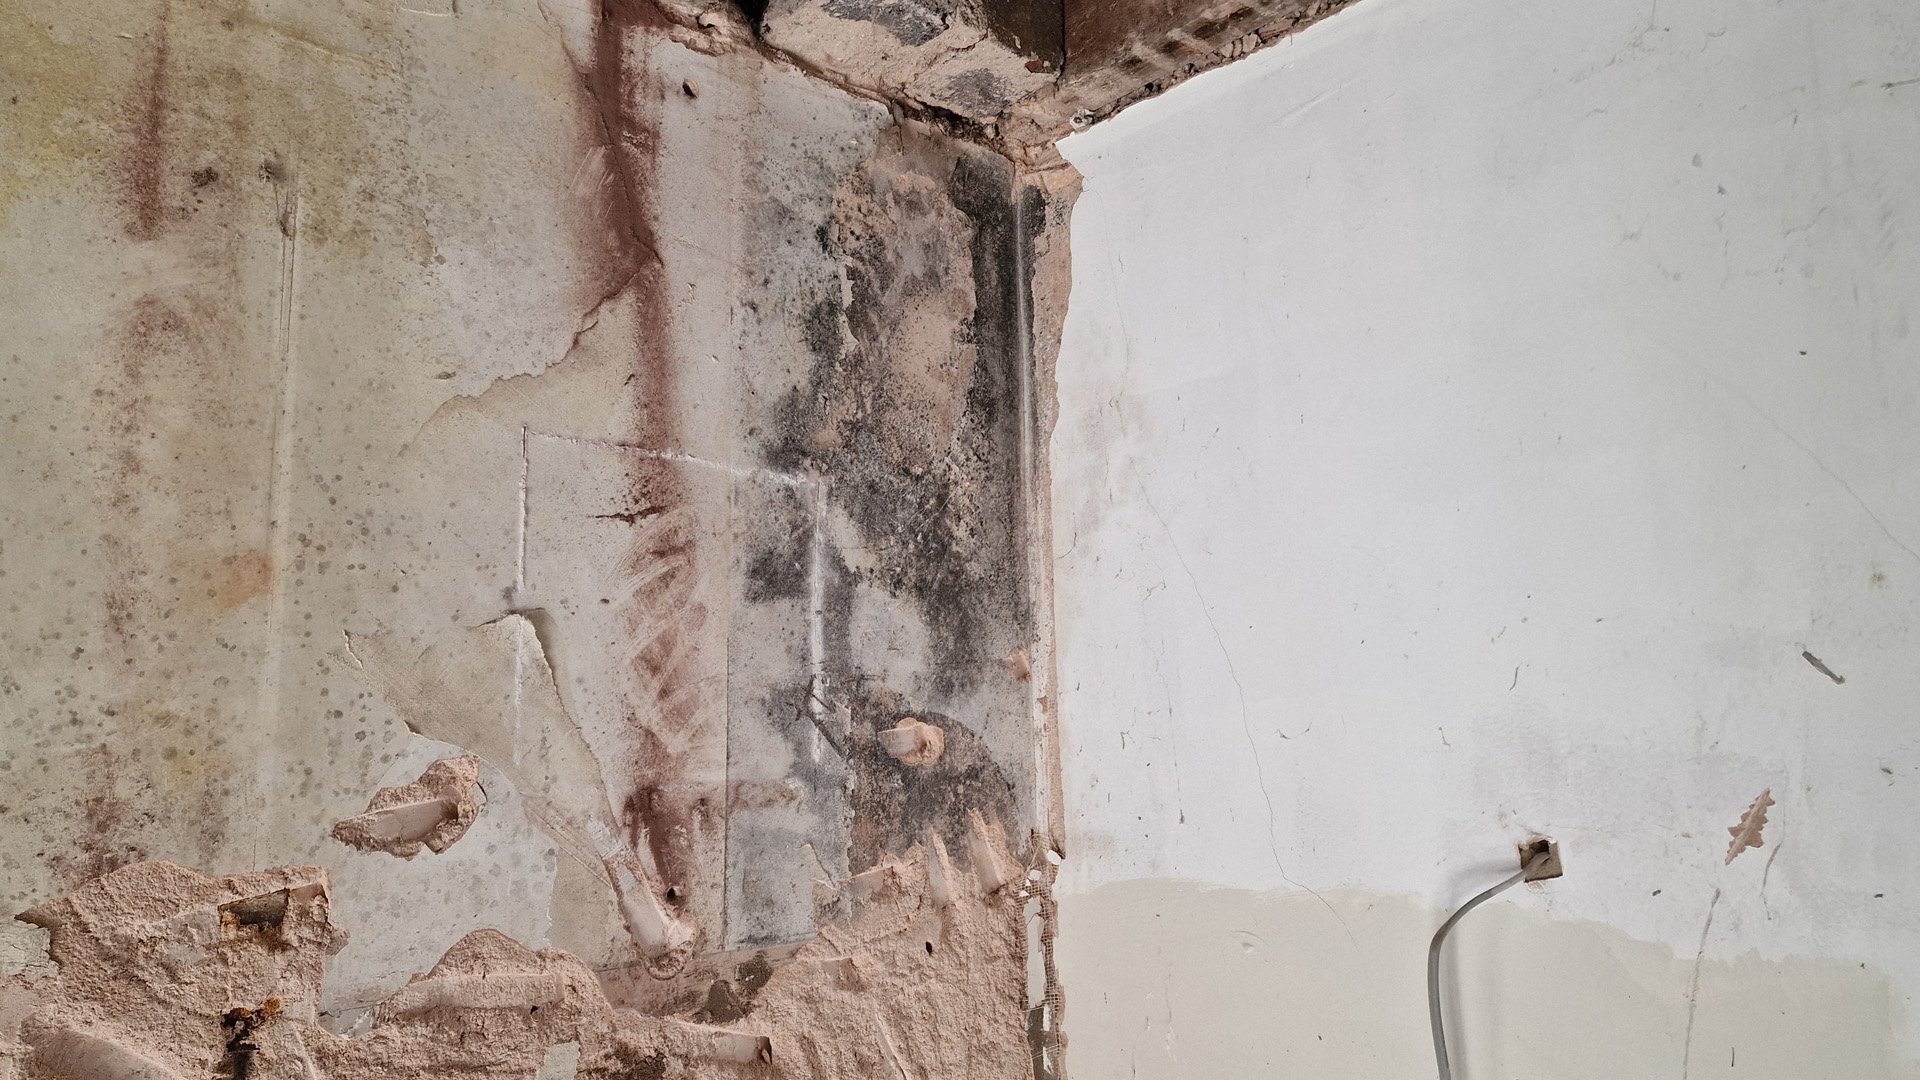
After stripping off the rest of the plasterboard, I could see the two main areas of mould concentrated in the two corners of the room. I’m amazed there isn’t more … this is possibly because I’m a little bit fastidious about limiting moisture build-up in the house. We regularly have the extractor on and windows open when we’re cooking to minimise moisture in the air.

I also monitor the humidity in the house with these Thermpro humidity sensors. Keep the relative humidity below sixty percent and mould shouldn’t form.
Oh, but you can get foil-backed plasterboard, I hear you say…
Well yes you can, but as far as I know, you’re not meant to dot and dab or glue adhesive to this foil. Presumably because the foil layer can peel off too easily. And that’s not the only problem, because you’ve got pesky electrical socket boxes to think about as well. Each time you cut through that foil to insert the electrical socket, you compromise that vapour control layer.
So how should be be insulating or plaster-boarding walls like this?
And I say “walls like this” because I need to emphasise that how you treat your walls may well differ from my strategy for mine, and will very much depend on how they’re constructed - with or without cavities, insulated or not.
Let’s quickly run through the options that I atleast have. The restoration lobby would probably say all I should do is put lime render on the walls. But my daughter’s room was unheatable before we insulated it, and it’s now one of the warmest in the house. So I’m sorry, I’m not going down the lime render route….
external insulation
Clearly, the best option for solid brick walls with no cavities is external insulation (EWI, for short). By having all the insulation on the outside, if done properly, you’re not so worried about condensation on internal walls. Although, you do still need to control the vapour you generate inside the house. Also, the internal walls become a thermal element as you heat them and they radiate heat back - like my underfloor heating is going to. Typically, if you’re insulating from the outside, you have to render or clad that insulation to protect it from the elements.
But retrofitting external wall insulation is problematic - firstly ensuring it’s water proof, and then dealing with all those windows, sills and eaves. It can also be very expensive and may require planning, so most of us aren’t going to bother with it.
internal insulation
Okay, if external isn’t an option, then we’re onto thinking about insulating internally. This is trickier!
You do have to be careful using insulated plasterboard. Insulated plasterboard tends to have a vapour control layer on the warm side of the insulation - the idea being that any moisture that gets through the plasterboard won’t condense because the surface it hits is warm, not cold.
But there are some real problems with using insulated plasterboard that the big manufacturers don’t really address….
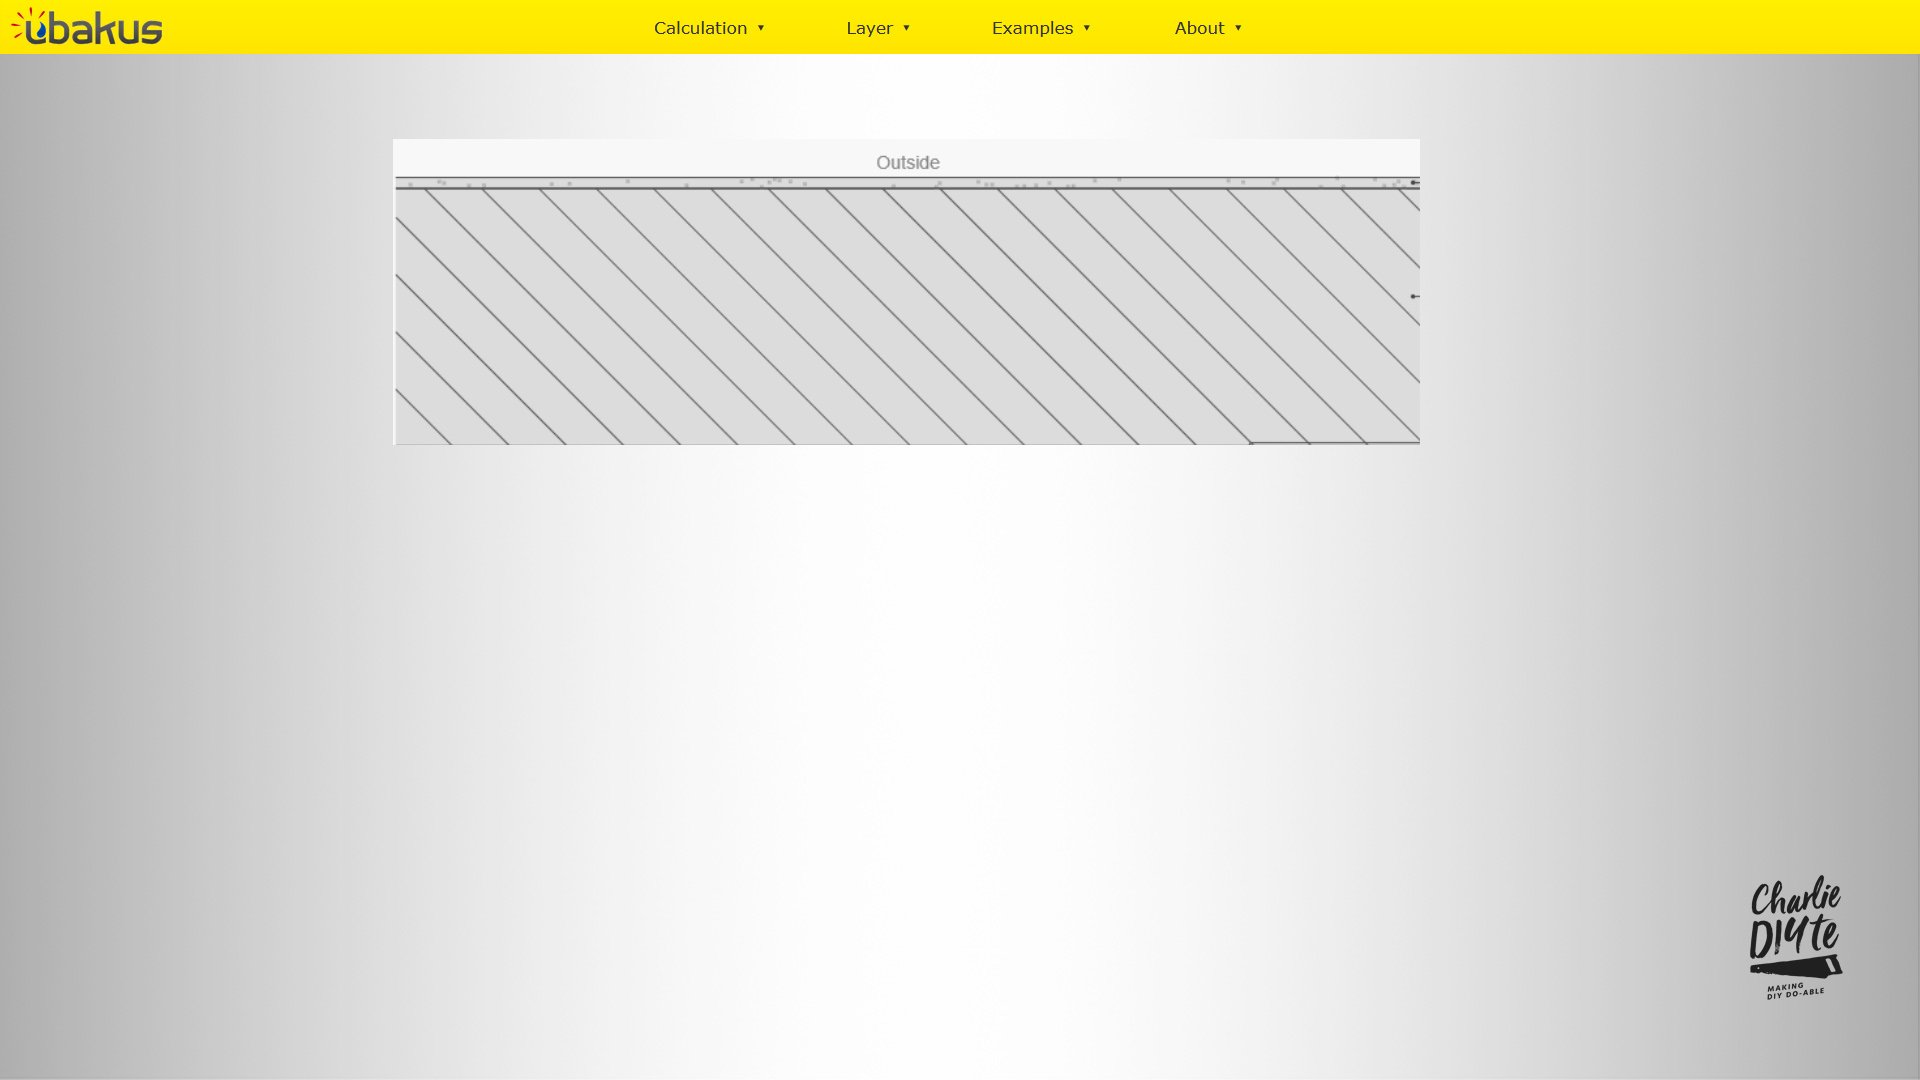
Look at the problems for these two examples from Kingspan and Ecotherm, showing the configurations that they advise using on solid brick walls like mine:

The vapour control layer isn’t continuous where each sheet butts up to the next, and in the corners, and indeed around window reveals.
AND, the vapour control layer will be broken every time you cut through the insulation for example to install socket boxes.
These breaks, which typically also coincide with weak spots in the insulation, are a neon flashing sign enticing the moisture to travel through and hit the cold surface beneath, where they can condensate.
So, after doing a couple of rooms by simply dot and dabbing Kingspan K118 insulated plasterboard to the walls - with this problem of interrupting the vapour control layer with all the plug sockets - I thought I’d go one step better in our bedroom. I went for a different approach of:
Battening the wall
Insulating between the battens with 25mm EcoTherm PIR
Foil taping over the battens
Screw insulated plasterboard to the battens
Using my thermal camera, I could see that the insulation is pretty comprehensive, although there are problems … firstly, the thermal camera clearly picks up all the mechanical fixings, where I’ve screwed the plasterboard to the battens behind.
And secondly, I’ve got two rather than one vapour control layer - and the closest to the external wall is in the wrong place, because it should be on the warm, not cold, side of the insulation.
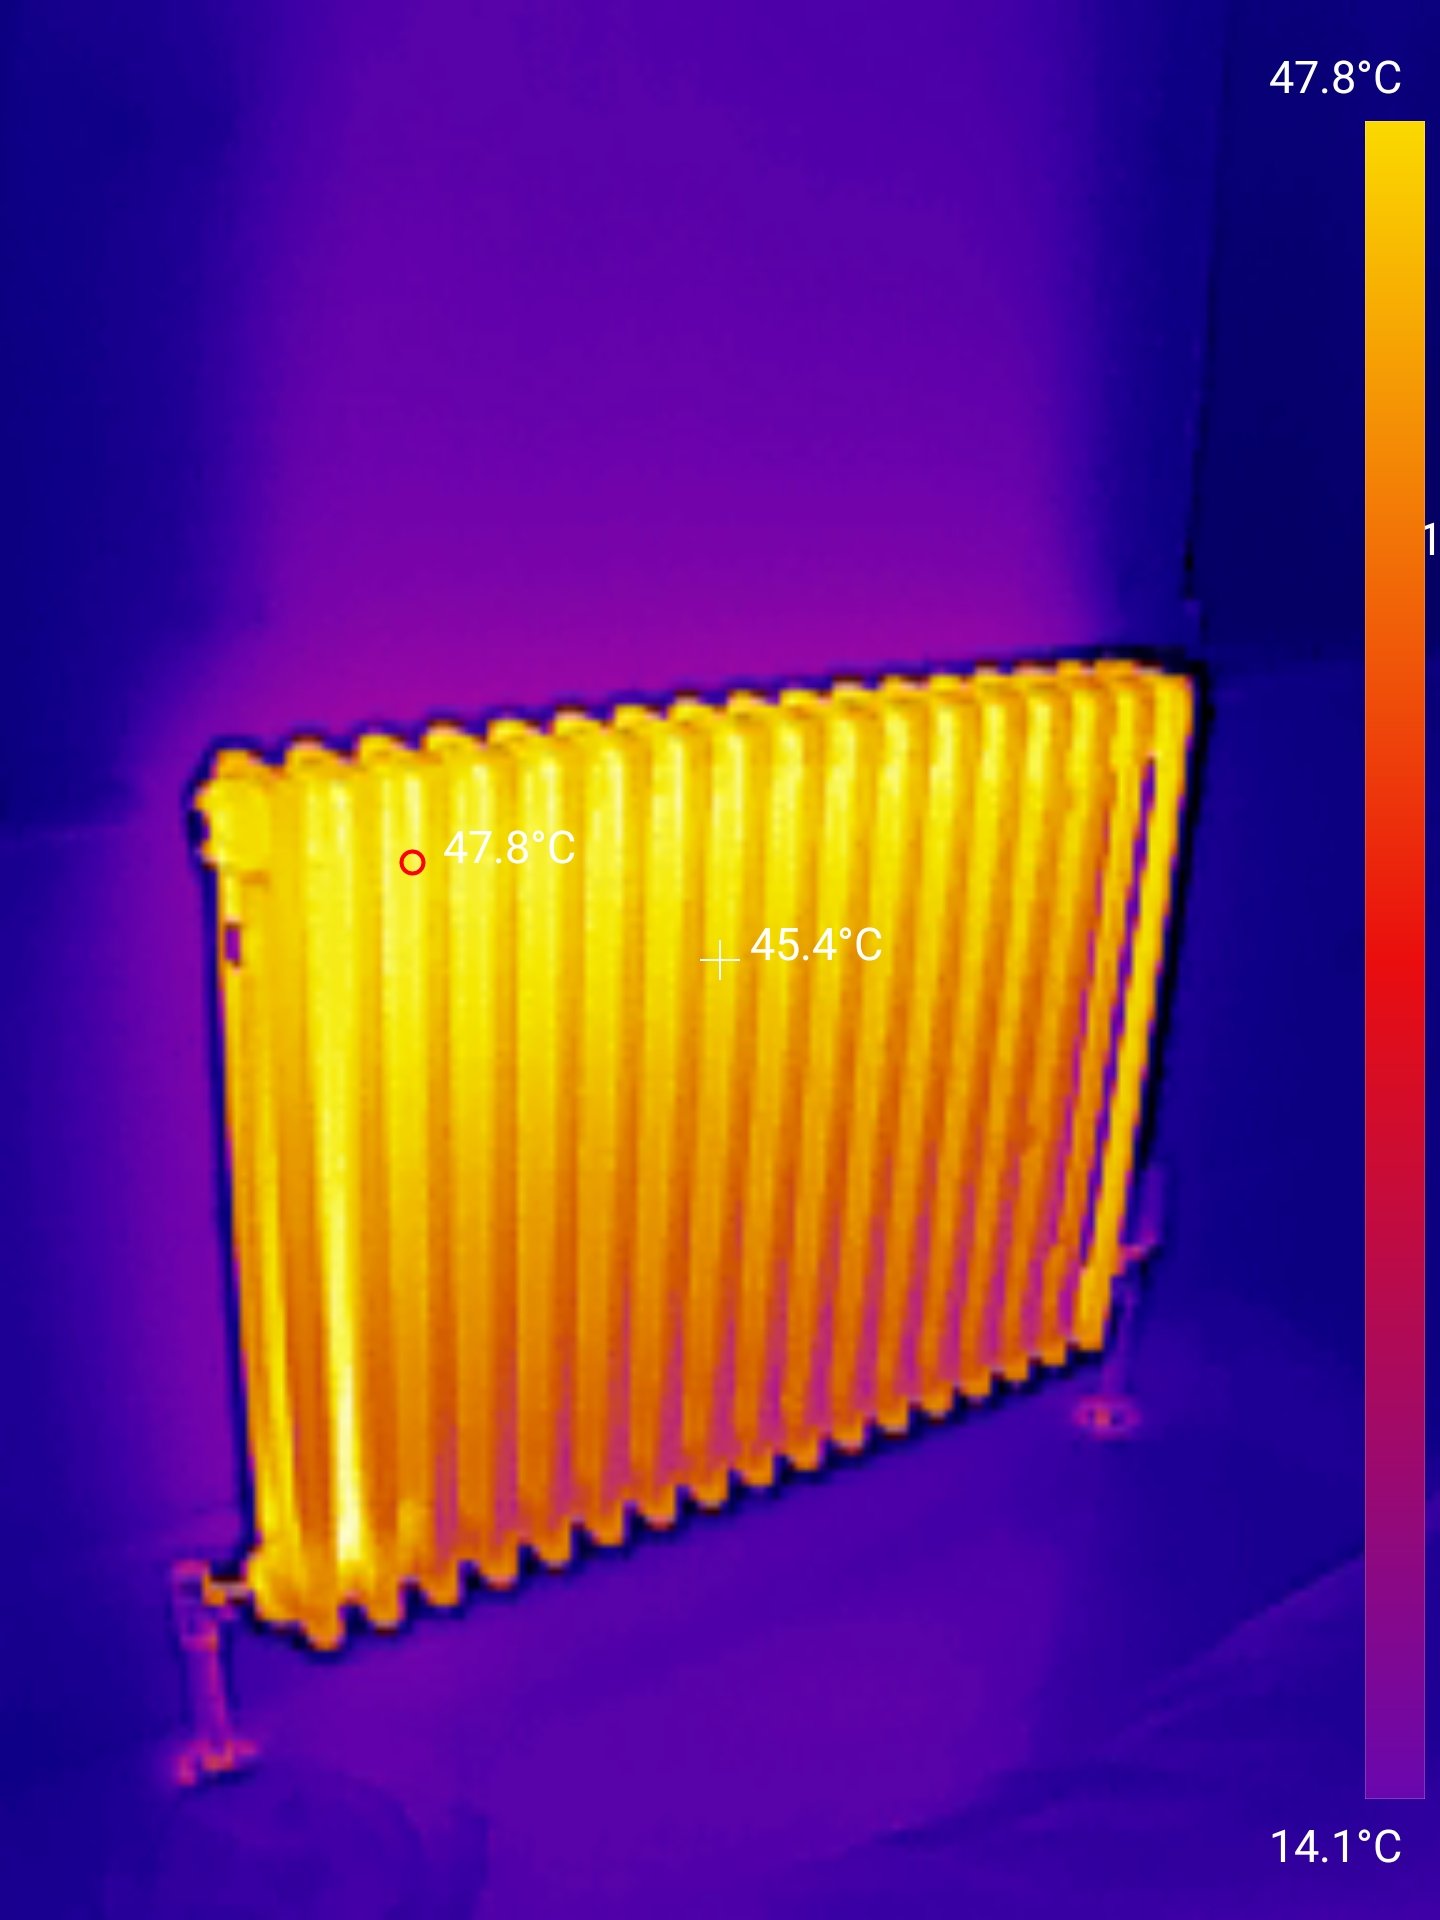
I’m not particularly worried about having doubled up the vapour control layer, as I took the precaution of foil taping the inside and rear of the socket boxes. But, for the kitchen, I need to finally get this right.
my new strategy
So the grand plan is as follows, and yet again I’m slightly indebted to Sam, our resident guru on most matters DIY on the Discord forum, for helping me come up with this.
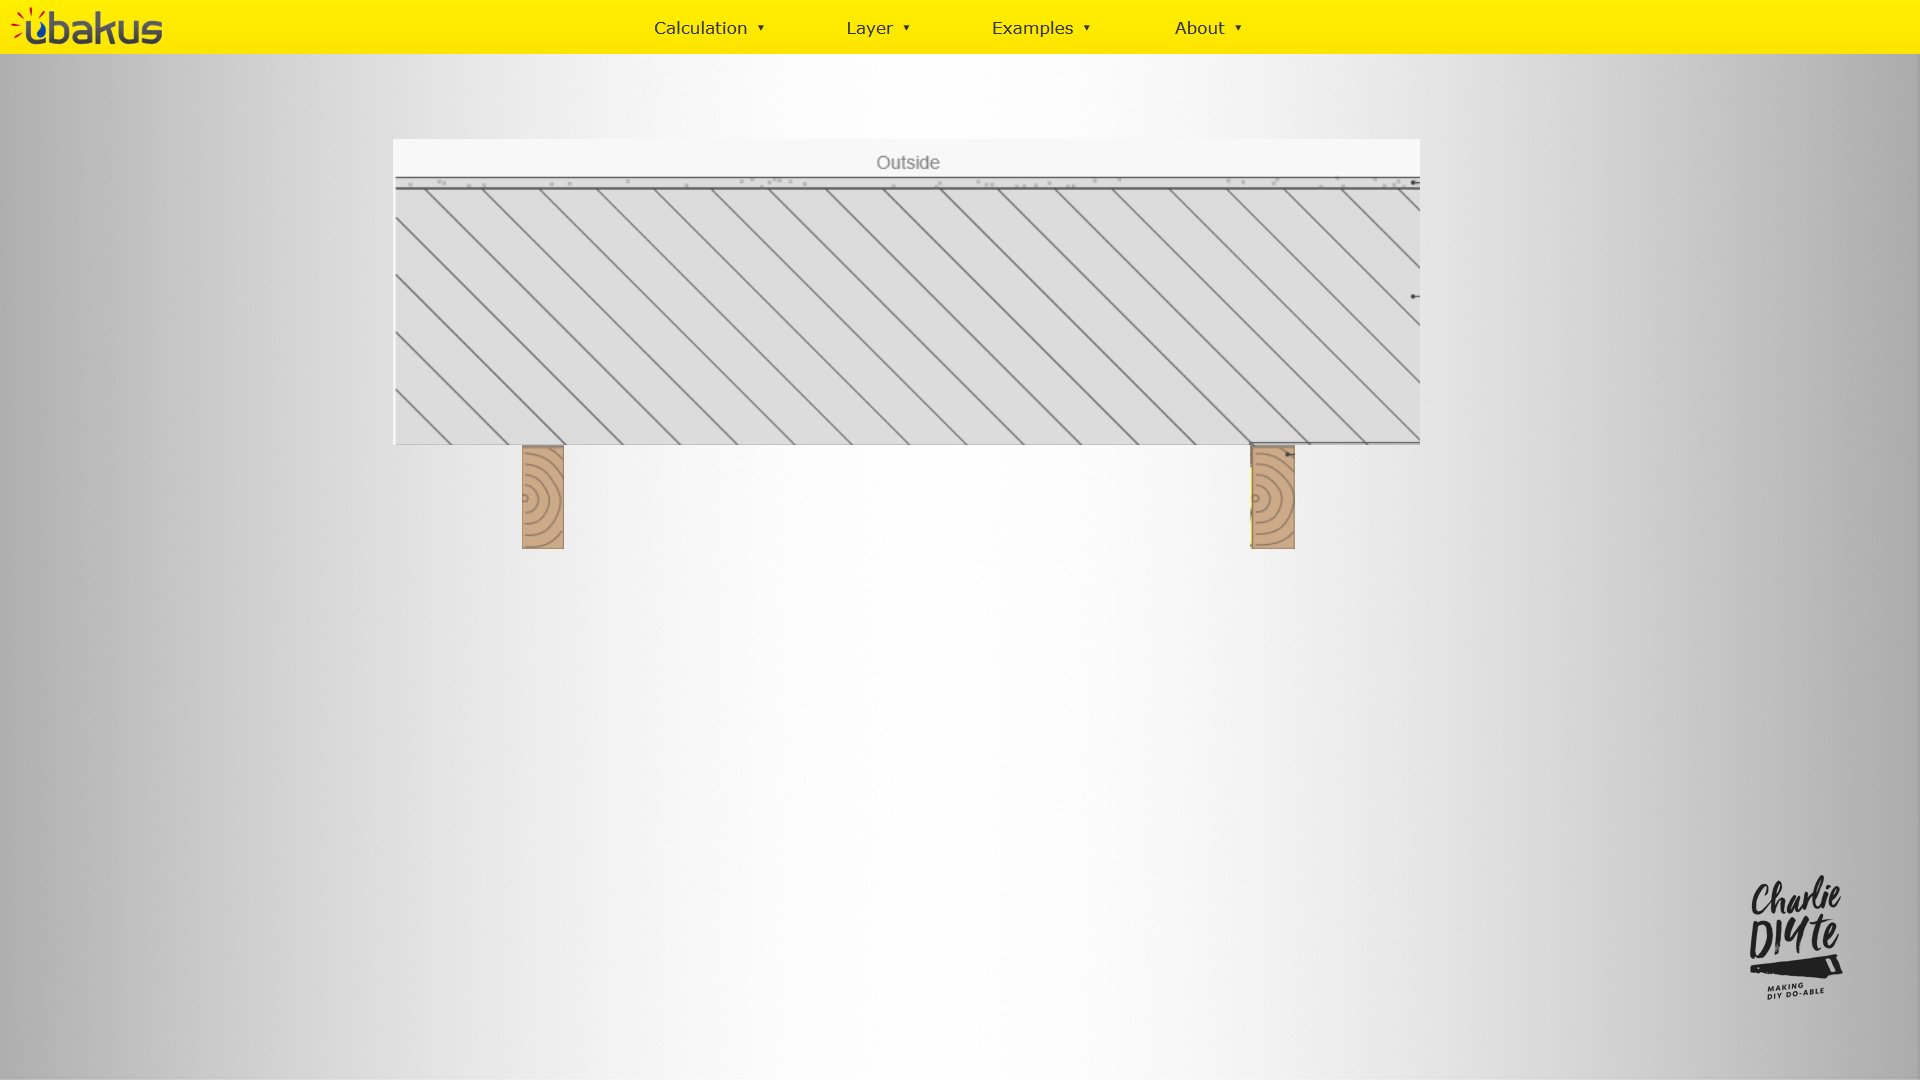

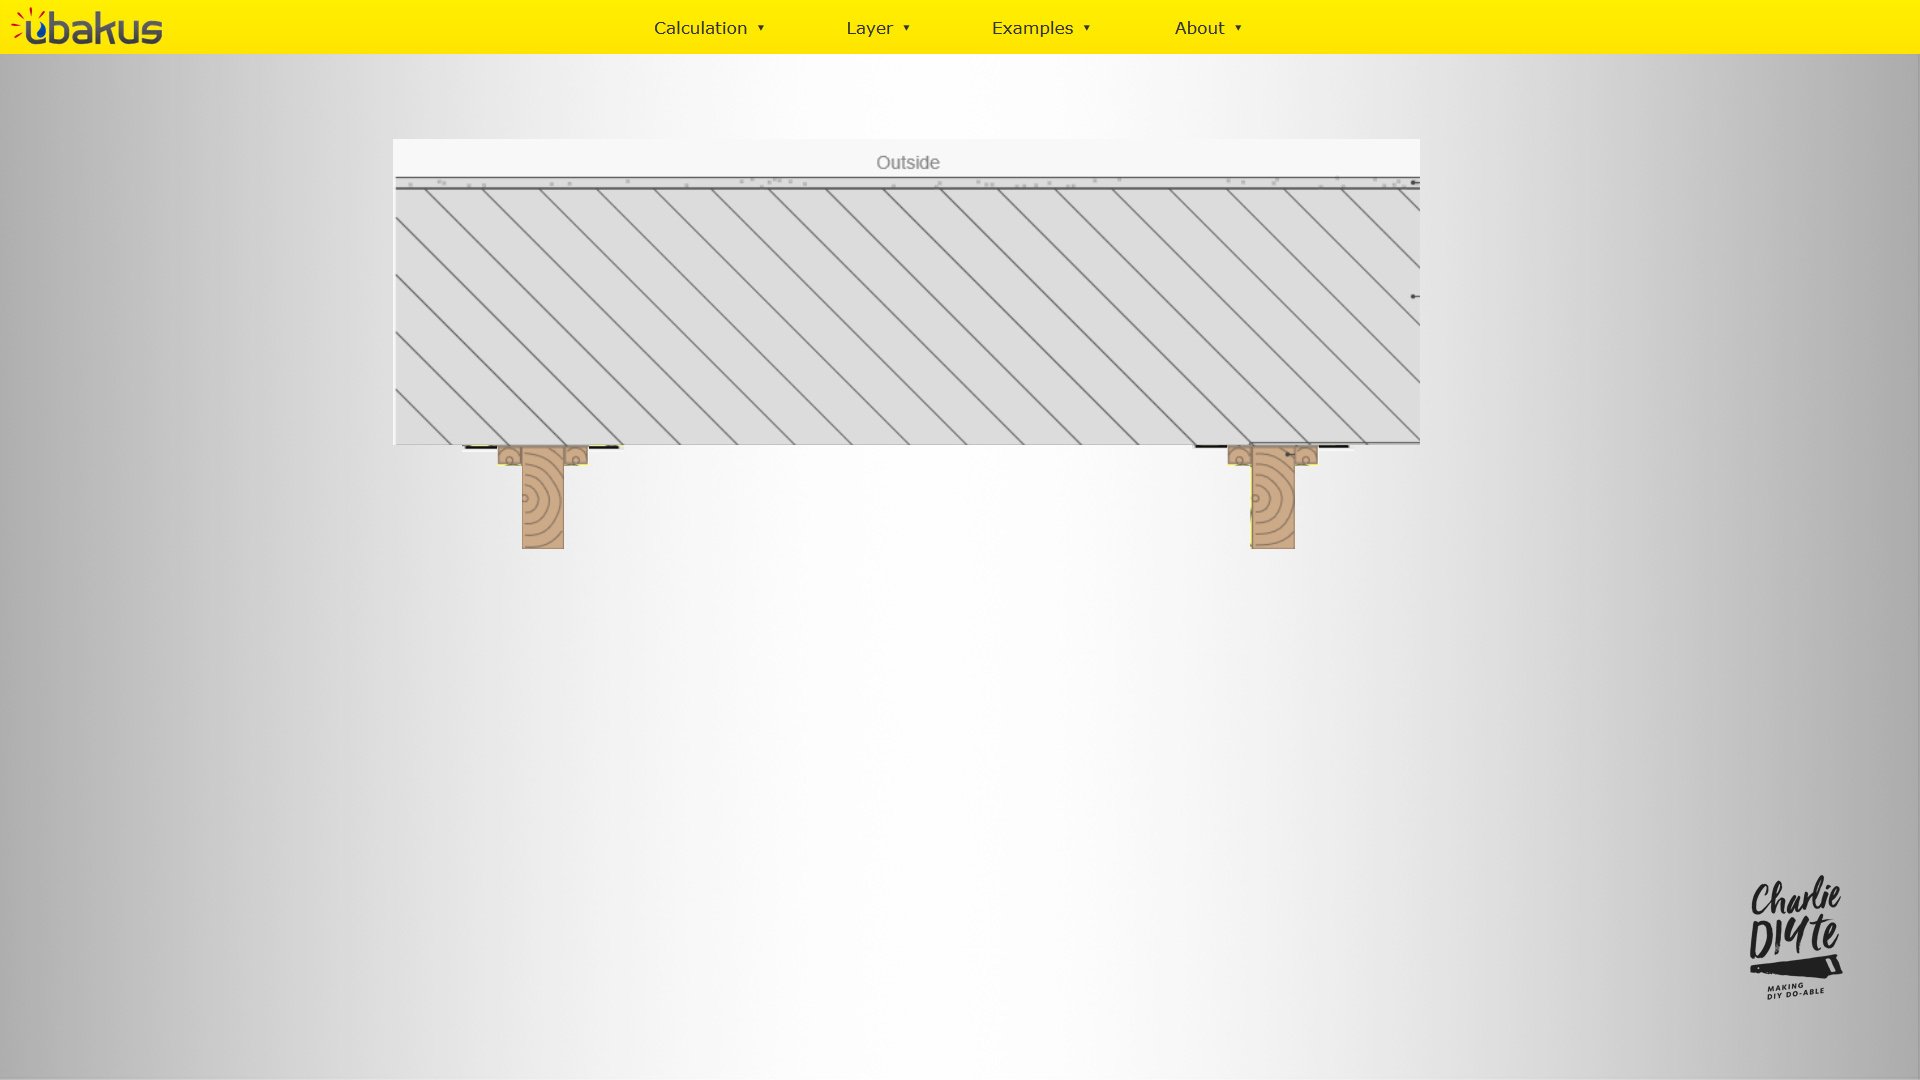

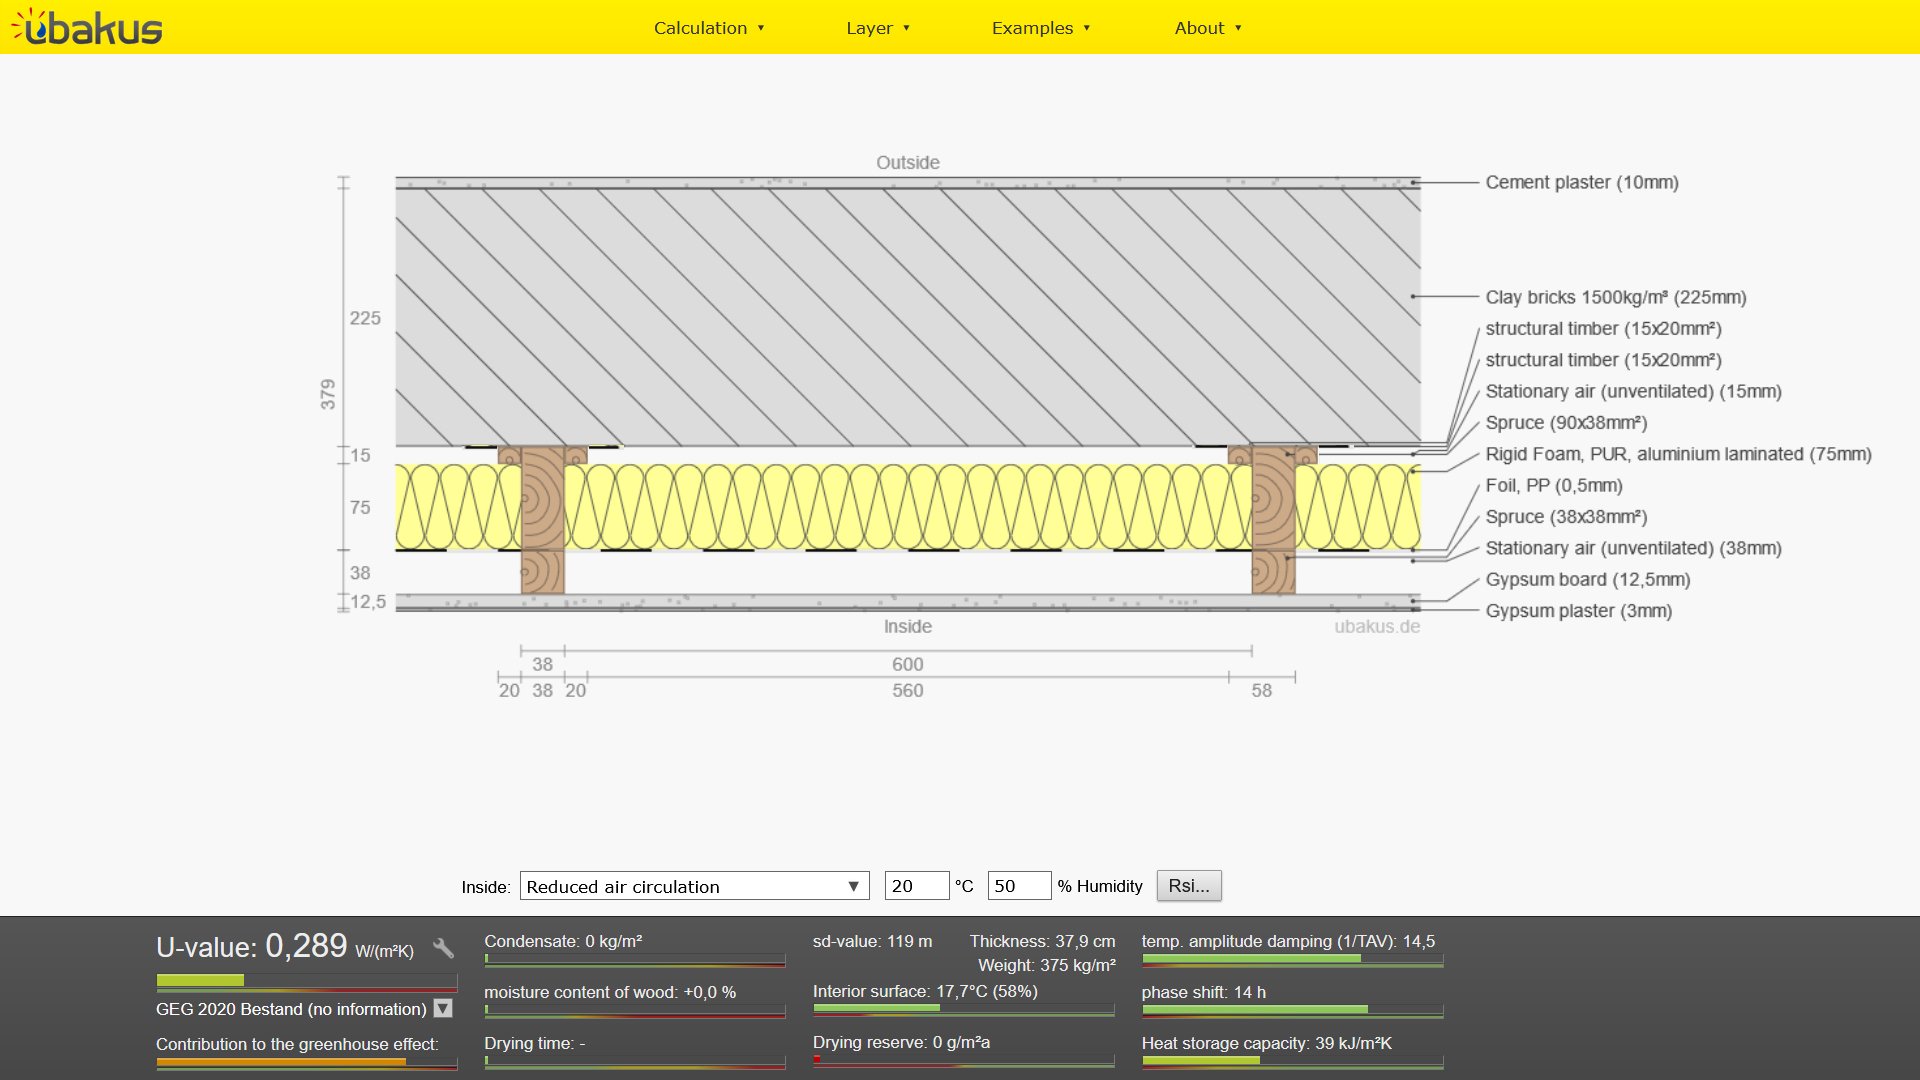
I’m going to batten the walls with probably 90mm or 4x2 tanalised timber. DPC will be behind the battens against the wall, just to protect them from any damp in the walls.
In a similar vein, two 1x1 or 20mm battens will form a T-shape to keep the PIR off the wall.
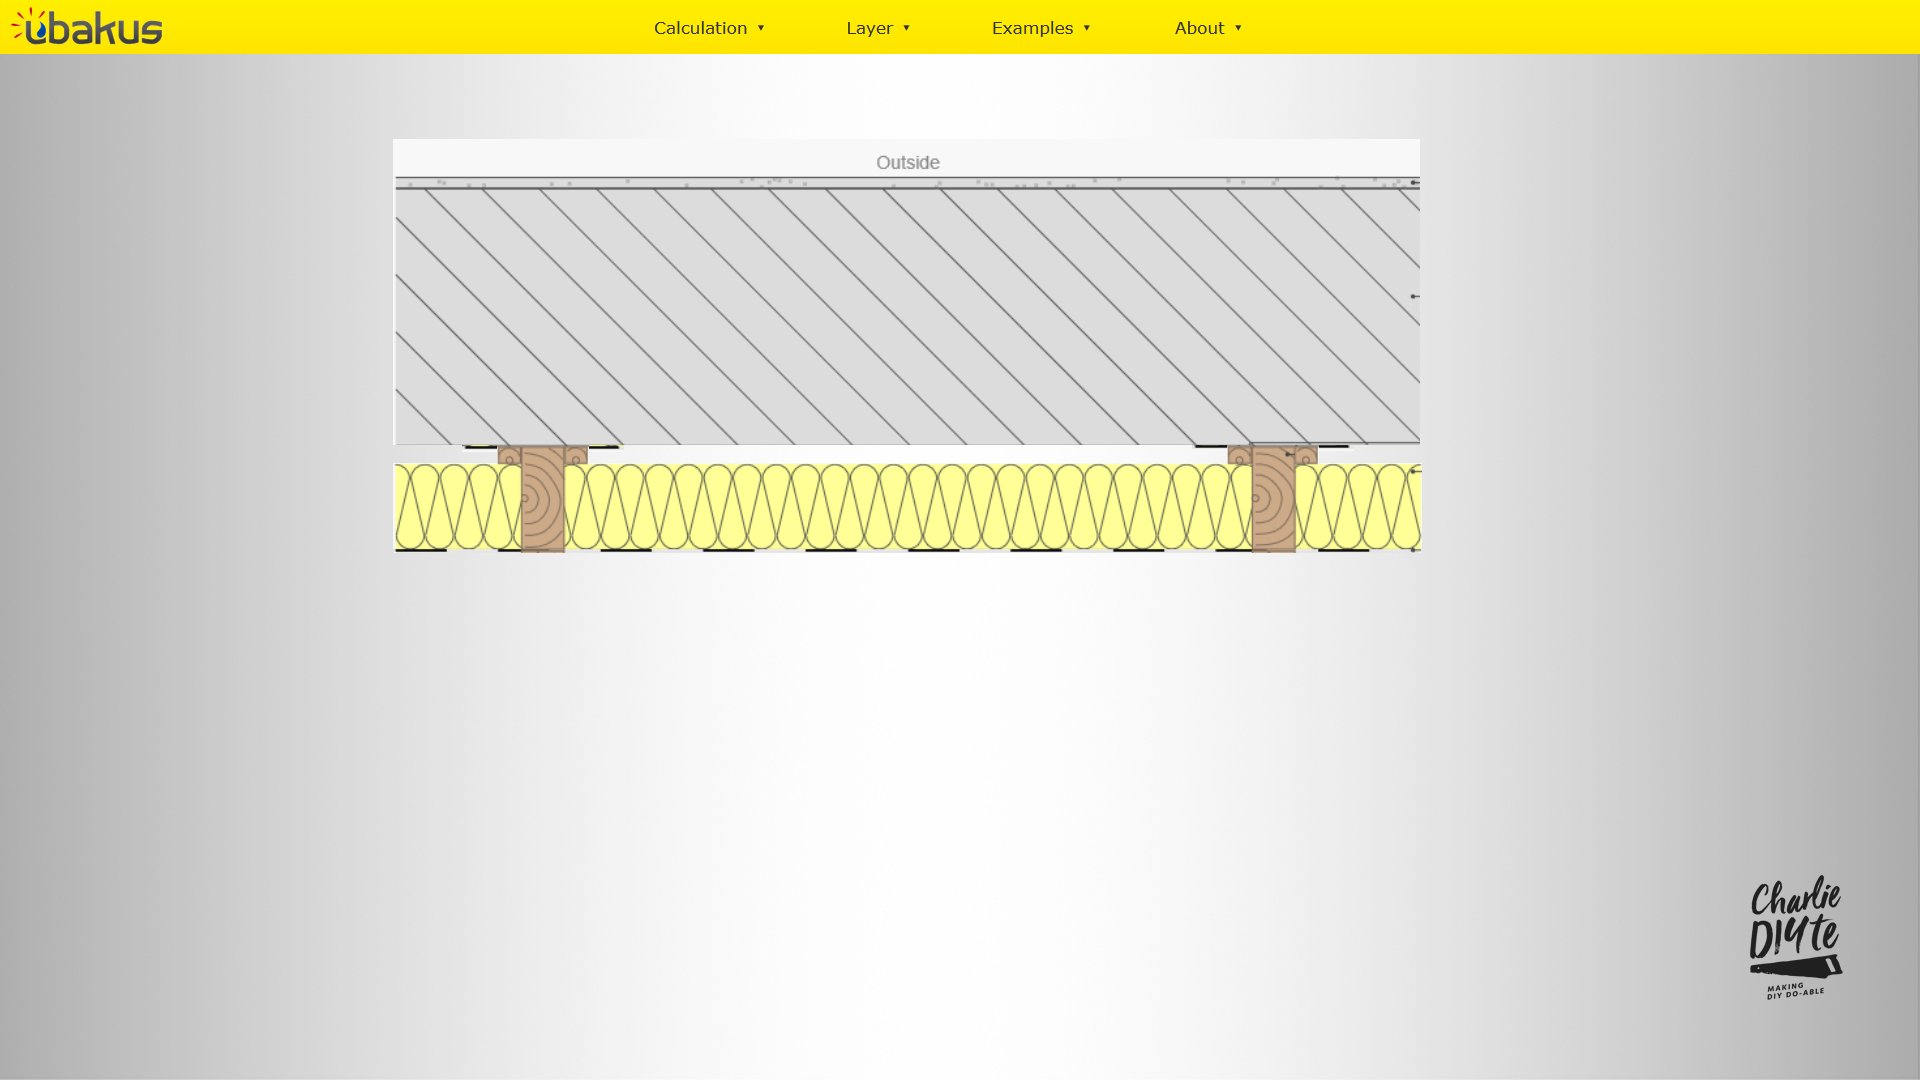
I think I’m going to go for 75mm aluminium coated PIR (Ubakus suggests this will give a U-value of .28, below the .30 requirement for existing renovations). To ensure a complete seal with the battens, I’m intending to use Gapotape between the PIR and battens.
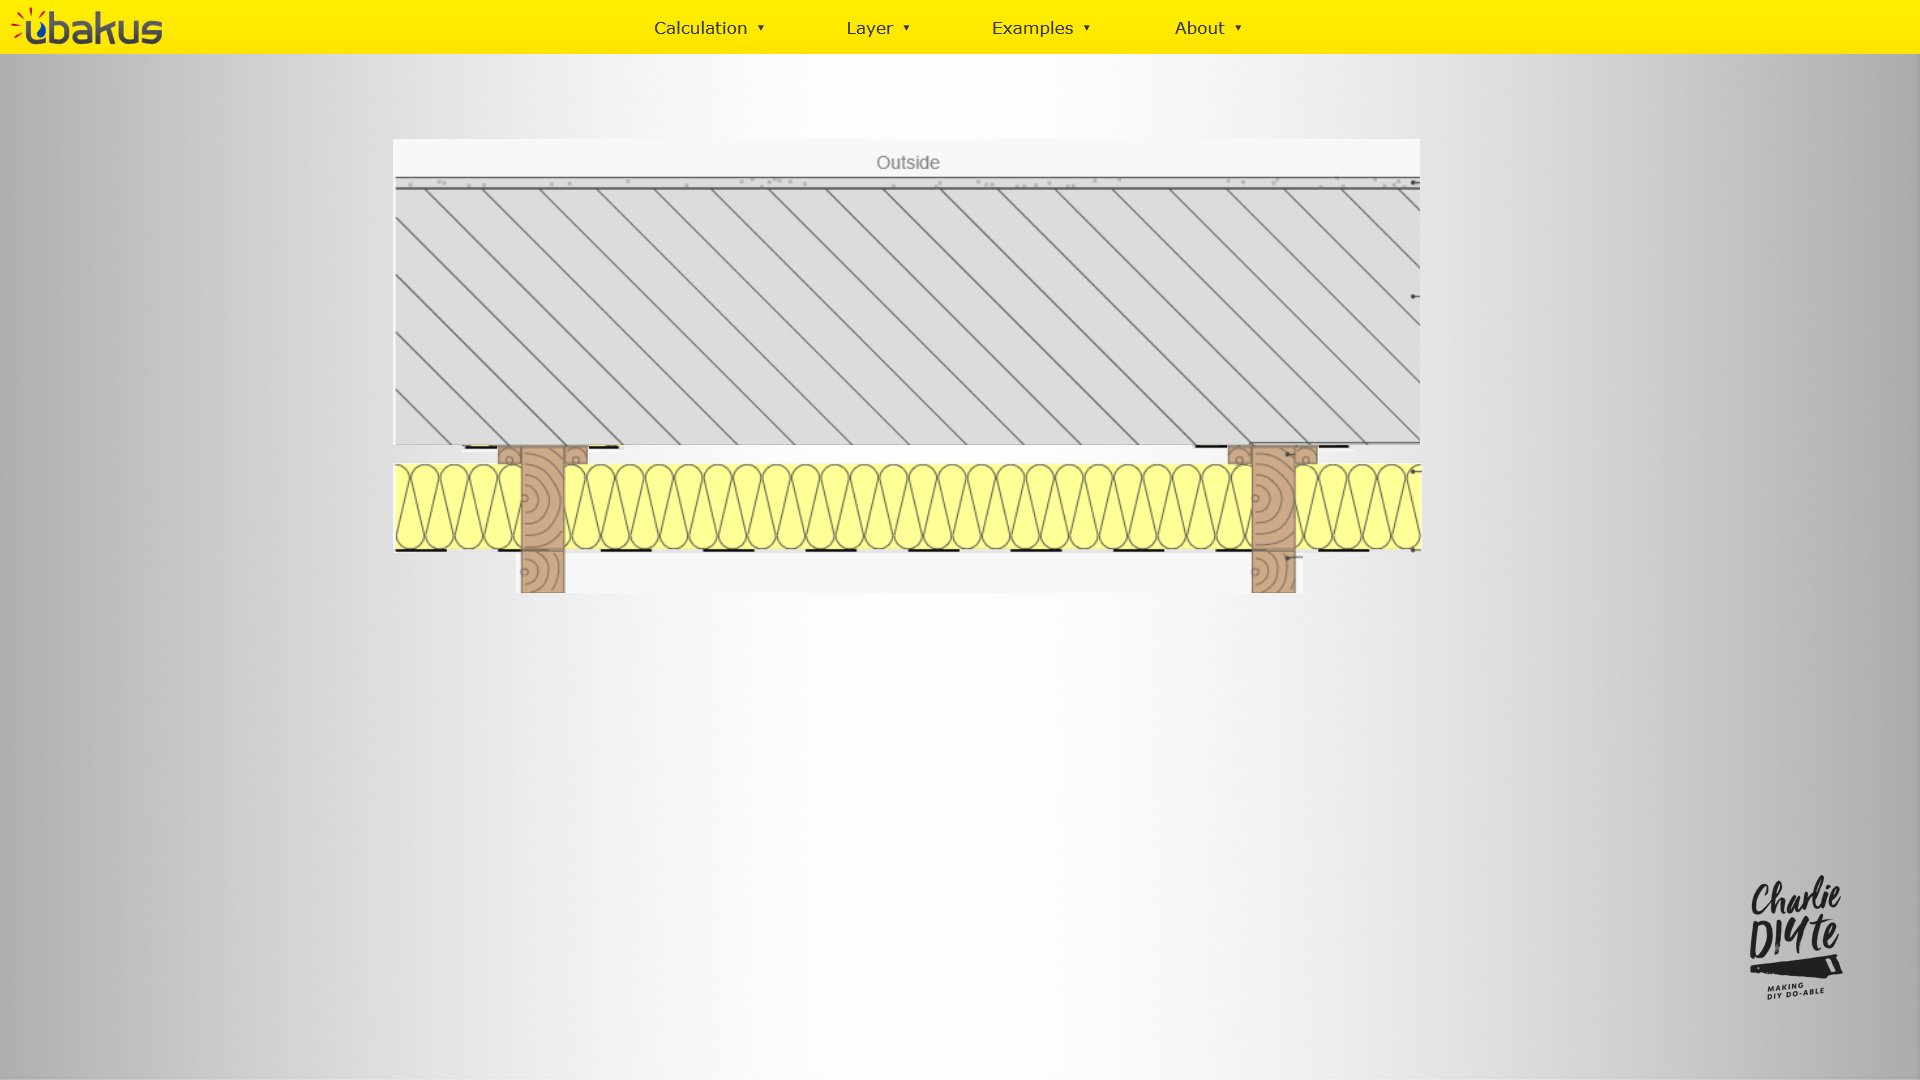
Then, I’ll foil tape over the battens, to give an effective continuous vapour barrier. I will screw additional 38mm battens on top of the existing to give me an unventilated void where the cables can be routed to the socket boxes. I’m thinking of securing these using caddy straps, another of Sam’s suggestions.
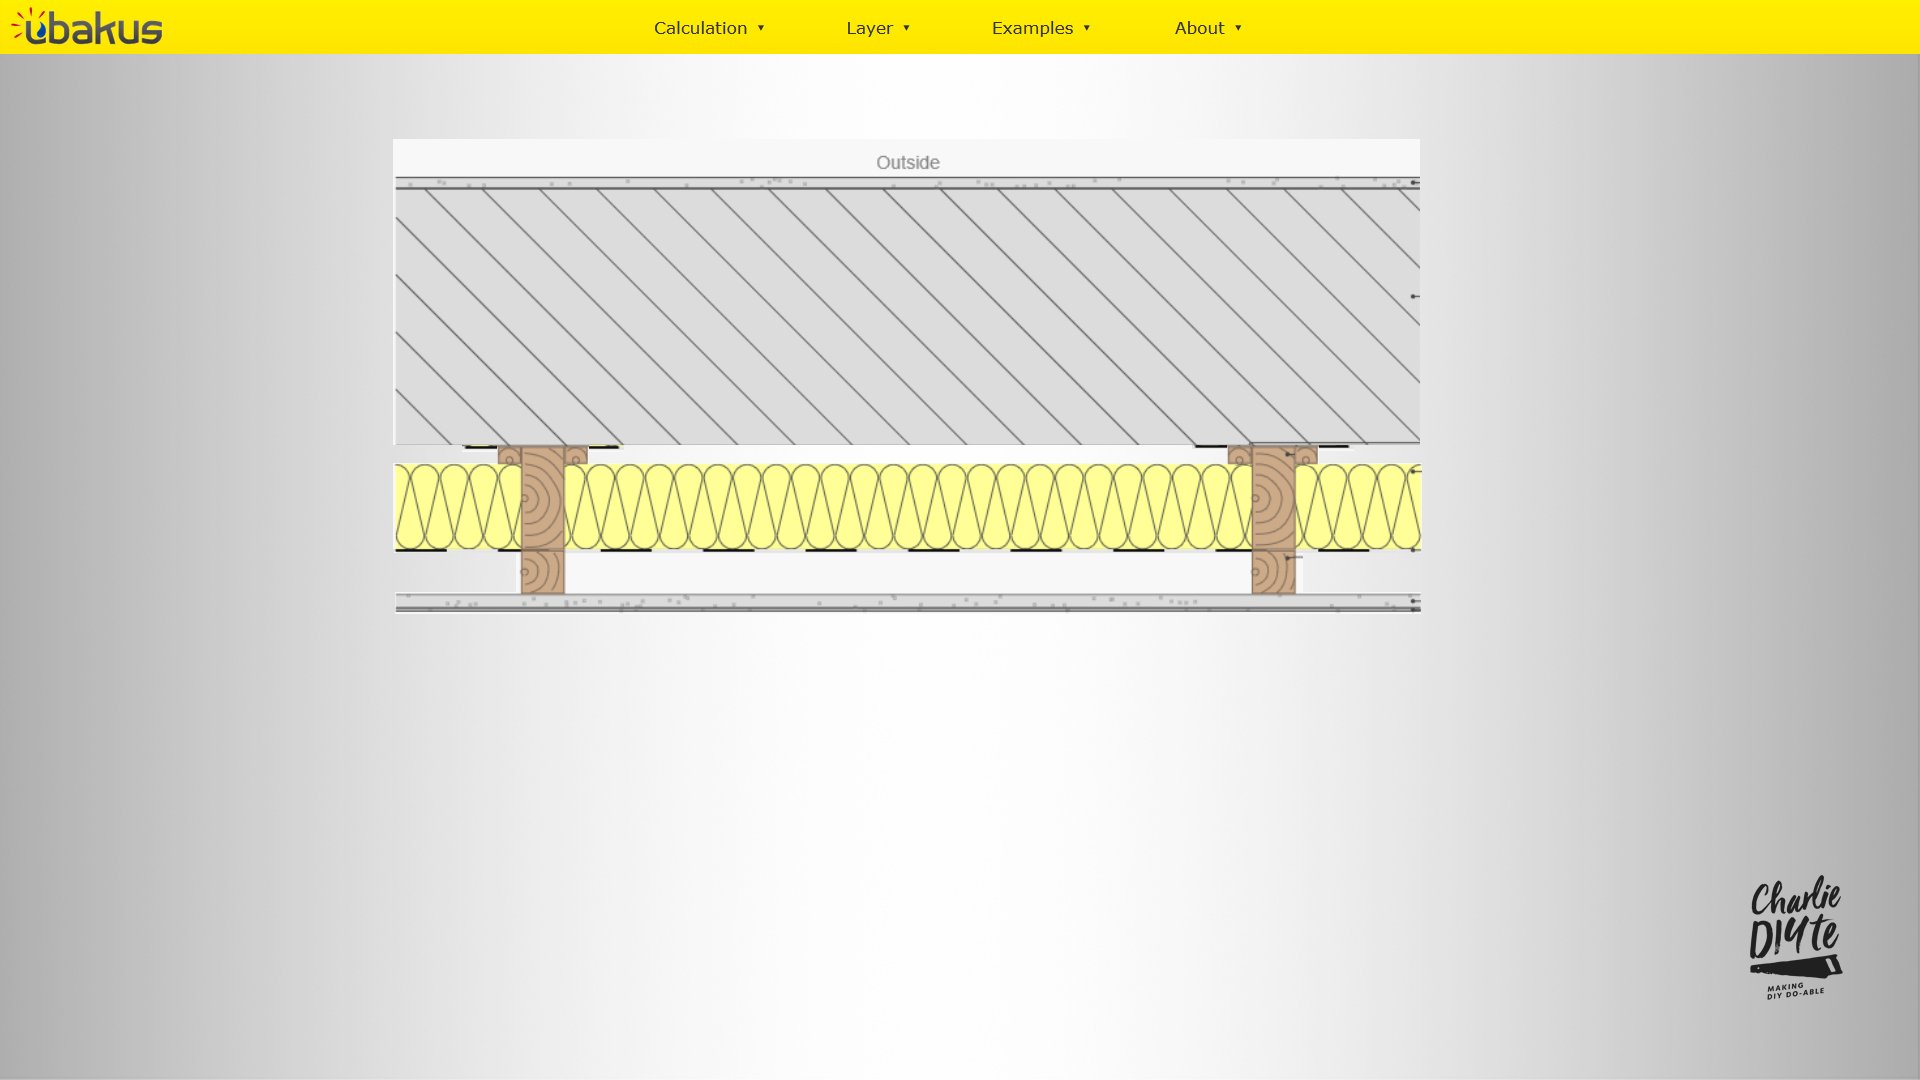
Finally, standard 12.5mm plasterboard will be screwed to these battens. There will be no danger of moisture condensing against the vapour control layer on this warm, well-insulated surface.
Well, that’s the general plan anyway. Let me know what you guys think in the comments section below, and tell me how you have tackled similar problems on your own projects.
today's toolkit
Thank you so much for reading! Oh, and if you’re new to my YouTube channel, click on the link here to subscribe!
As usual, I’m always looking for ways to make this sustainable now I’m doing it full time, so if you like my content and to help me keep providing it here on this channel for free, I would be so grateful if you could visit my Patreon page, to support me - lots of exclusive content. For just £5 per month, you have daily contact with me through my Discord member forum behind the scenes videos and automatic entry to my free monthly giveaways.
I thought I’d also mention a new shopping platform that I’ve been using recently. WeShop is a new concept merging social media with shopping. You can get 20% of the value of each order you make through the platform in shares - they’re giving away 90% of the business to those who shop on it.
Over the last ten years, I’ve been a bit addicted to Amazon, so I’m trying to start helping and reconnecting with other UK retailers who are signed up to the site. I’ve bought anything and everything from dishwasher tablets to nail guns.
You also get access to an exclusive connection of my own videos because I post regularly about all of the things I like using. If you recommend friends, you get a small referral commission (as I do from you if you come onboard). You can download the app from Google Play or the Apple Store, and simply need to sign up using my name ‘charliewhite’ - all one word. Have a bit of fun and let me know what you think!
Now I don’t know quite how this will pan out, I don’t know what will happen to the WeShop platform or how well it will be taken up by the British public. But I’m buying things I would be buying anyway, I’m supporting British retailers, and getting a potential nest egg of shares. Have a play around with it and let me know what you think.
* The Amazon links (if any) above are affiliate links. It doesn't cost you anything to click on them but I do earn a small commission if you do.
* I'm not being paid anything for the WeShop mention here, but I do earn a small % of shares if you sign up through my link, but it doesn't cost you anthing to do so, and once you're in, you can start earning shares from referring friends too!