
Drayton wiser update -14 month review
I have been promising the update video and blog for my Drayton Wiser Smart Heating install for ages and finally the video went live on my YouTube channel a few months back. Click here to view.
It’s 14 months since I installed the Drayton Wiser smart heating system in my old cottage. I’m going to be updating you on how I’ve found the system, the upgrades I’ve made and the other things I’ve learnt since install and I should add Drayton aren’t sponsoring or otherwise paying me anything to do this blog and video.
When I started preparing my video and blog I posted a comment on my community tab, and I can’t thank everyone enough who has come back with their experiences of Wiser and other smart heating systems. I’ll be including these wherever possible during the blog.
I’m not going talk specifically about the DIY install itself today. For a comprehensive run through of that check out the link to my vid here.
Just a quick heads up - I'm now on Patreon. For a small monthly fee you can help support me with making this content and will get lots of behind the scenes footage and most importantly, access to my Discord DIY chat forum. Click the link here to find out more.
Summary
Let’s quickly summarise the experience at the start and I’ll mention the individual components of the system in a bit more detail as I go. Fundamentally, the system just works brilliantly. You might remember I previously had a wired thermostat in the coldest room in the house - with a traditional valve on the radiator in that room as you’re not meant to have TRVs in the same room as a traditional wired thermostat as they conflict with each other, but heating our badly insulated old cottage was a depressing experience. With all the valves set at maximum the house never properly got up to temperature - you just assumed that was the norm and there was nothing you could do about it.
But from the first evening the Wiser system was running, with smart thermostats on each radiator, the heating sort of came alive and I was able to walk around the house with the app, setting the temperature and schedules in each room - this room is a bit too warm, this one could do with being a bit warmer, that kind of thing. And last week when it was warmer outside I lowered the weekly temperature in a few rooms which took me just a few minutes - although with smart mode you don’t need to worry too much about doing this as I’ll come onto.
How robust is the system?
A quick reminder how the system works. Looking at my floor plan here, the hub sits on the wall under the stairs.

Now the hub communicates with each heating device - be that wall thermostat, smart radiator thermostat, or smart plugs, over what’s called a closed zigbee mesh network. Without getting too technical (because I’ll get this wrong), zigbee operates on a similar frequency to WiFi but is very different because each device on the network can interconnect to create the network - which is why it’s called a mesh, whereas with WiFi, each device can only connect with the router - not other devices.
As it’s a mesh, if you have any thermostats that are out of range of the hub you can boost the signal from the hub with smart plugs which basically plug any holes in the mesh.

One or two people on my YouTube community platform have said they wish it communicated over wifi, but Drayton kept communication off wifi deliberately because if your wifi goes down, the system keeps functioning.
What you do need wifi for is for the hub to communicate with the cloud , so that you (via the app on your phone) can alter your heating schedules either at home or when you are away.
So if your wifi goes down you can’t access or change your schedules.
So, my system functions brilliantly despite the Wiser hub being located behind a thick wall. And the fact that my two wireless access points, which is basically my wireless router, are not that close to the hub either. The hub can communicate very effectively given my situation.
All of the radiators are also able to communicate with the hub without the assistance of smart plugs.

Chris has no connectivity issues in his five bedroom house over three storeys.
Yet Phil has been having issues - whilst he couldn’t fault the kit, the app has been painful at times. Perhaps the hub has been struggling to get wifi connectivity from the router to update the schedules over the cloud.
However, overall, it’s been pretty faultless. I had one smart radiator valve go offline which is in one of the furthest rooms from the hub, very early on in the install. I reset the thermostat and haven’t had a problem since.
interface issue
Now the lack of a convenient user interface is a criticism you sometimes hear about the Drayton Wiser system, which is of course app based. Whilst this hasn’t been as issue for me, I can see how it could impact the older generation who aren’t so used to using phones.
This hasn’t stopped some of you being resourceful - Mark has repurposed one of his kid’s old tablets to velcro to the wall to use as in interface for the Wiser heating system. For my house, I decided to pick up the Google Hub for about £60.

Google Hub interface
So, for the Google hub (“hey Google sync my devices), you can access the heating from a couple of ways from the home control screen. With the heating off you can’t change the temperature on the hub, but once you’ve switched the heating on, you have room by room control on the hub, as you do if you turn the heating on by voice control .
So we’ve found the Google Nest hub, as its now called, a great additional interface for the Wiser Heating system. But the voice commands themselves have been criticised of being quite limited, as they haven’t included a main command to “boost all”, which is something that you do get on the app.
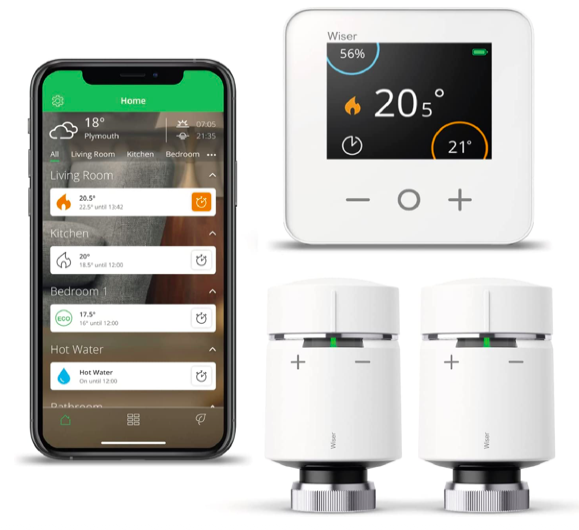
With the Drayton thermostat system, the basic kit comes with a room thermostat, whilst the next kit up comes with additional radiator thermostats. It’s a bit clunky (lots of button pressing), albeit useful for those who don’t have access to the app.
But why do you need a wall thermostat if you have smart radio thermostats as well? Firstly, it comes as a basic kit as a way to get started with a smart heating system. But also, it is useful for those in the family that don’t have access to the app, and for area where radiator temperature is not accurate due to bad air circulation. A wall thermostat therefore takes priority over the radiator thermostat for a more accurate temperature.
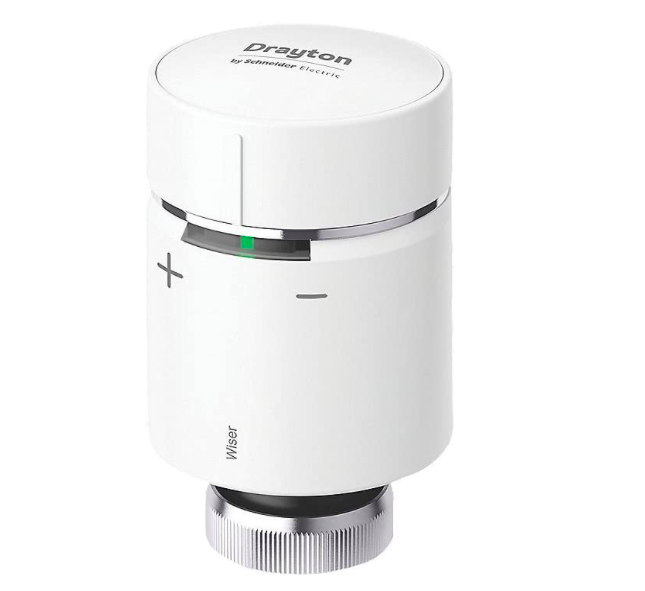
smart radiator thermostats
And what about the Drayton radiator thermostats? Well, in my opinion, you can’t really fault these. Some might say they lack a temperature reading on them, which again, would be good for people who don’t have access to the app, and my YouTube subscriber suzamar270 loves the fact that their Tado thermostat measures temperature and humidity, although quite how accurate humidity is with the sensor so close to the radiator I don’t know.

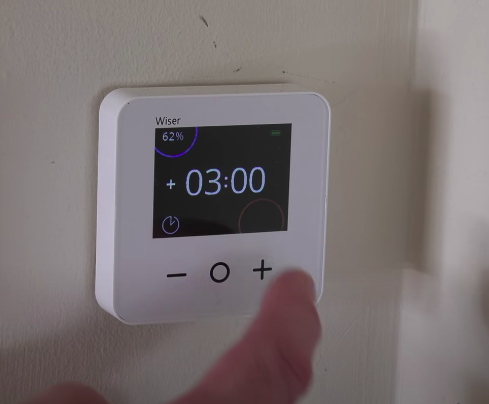
The Drayton Wiser Radiator Thermostat
But the simplicity of the design of the British manufactured Drayton Wiser thermostat is one of its standout features. It feels good quality, and since a firmware upgrade mid way through last year, they’ve been even quieter than they were previously - not that that ever bothered me. The sound of them wurring around the house when the heating comes on is almost imperceptible and I actually rather like it as it shows the system is up and running.
Any problems? Well, I mentioned the one that went off line. And I also had one other behind a radiator cupboard where the replacement batteries drained very quickly (in radiator cabinet - another advantage) but I’ve now switched batteries, and put a smart plug in the kitchen which might have helped
Batteries

The fear of battery replacement is what may hold a lot of you back from installing smart radiator valves, and a few of you said in the comments how they wish the valves could be hardwired to circumvent the need for batteries.
My Pairdeer batteries supplied with the kit worked really well for about a year and then the app notified me as one by one the battery levels got too low.
So I bought these Duracel Pro batteries which are generally doing okay - apart from where they failed very quickly for that thermostat behind the radiator cabinet. But I thought, I must be able to do better than that and started looking at rechargeables.
However, two things can put you off these:
Typically rechargeables aren’t available in 1.5v power.
We’re told not to use lithium batteries close to the heat of a radiator because they like to be kept cold and could be a fire risk if heated up.
However, the heat from my radiators never really transfers to the thermostats, and the eternally brilliant Sam on my discord forum helped me identify some 1.5v rechargeable lithium batteries so I thought I’d have an experiment. They don’t need a charger as you simply plug the cable that comes with the batteries directly into your socket or an appropriate charger and wait for the lights to turn green.

They’ve functioned seamlessly since I started swapping the old ones for them. The big downside is, being lithium they won’t gradually lower in strength and the app won’t consequently update you on the battery status. However, when the battery switches off, the app will notify you a smart thermostat has gone off line which is how you know when to recharge them, and the app prompts you to replace old batteries when they still have useful life left in them - which I know because I’ve reused the pairdeer batteries for things like games consoles, so my approach with the rechargeables seems less wasteful.
However, before you rush out and get yours, I’m going to put a big disclaimer out there. Just because mine have worked and not overheated doesn’t mean yours will and you’re probably invalidating your smart radiator thermostat warranty using lithium batteries, and on this point, my subscriber Mike ruined one putting rechargeable batteries (I don’t know what sort he used) in - so proceed with caution.
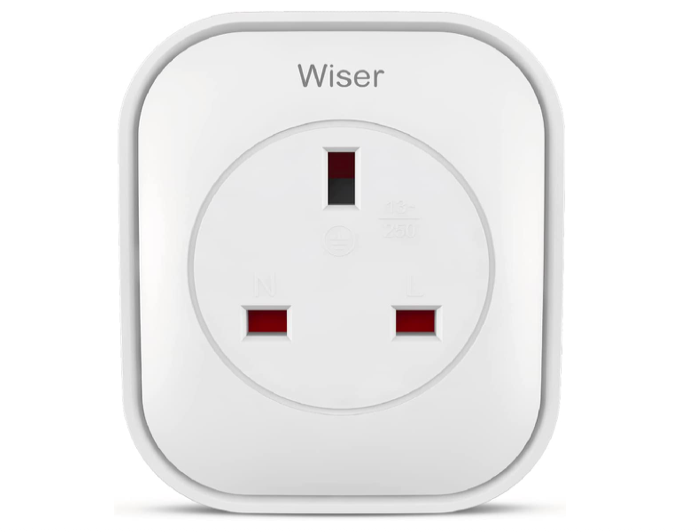
smart plugs
I can’t do this update video without mentioning the smart plugs. When Drayton first brought out the Wiser system there were inevitably people for who the mesh network didn’t completely work in their homes because of brick walls etc, and Drayton initially sent out third party range extenders to sort out connectivity problems. Then they developed these smart plugs which are range extenders on one hand and smart plugs on the other, allowing you to schedule devices connected to them to switch on and off. People say you can get much cheaper smart plugs elsewhere which you can, but as I’ve just said these are also range extenders.
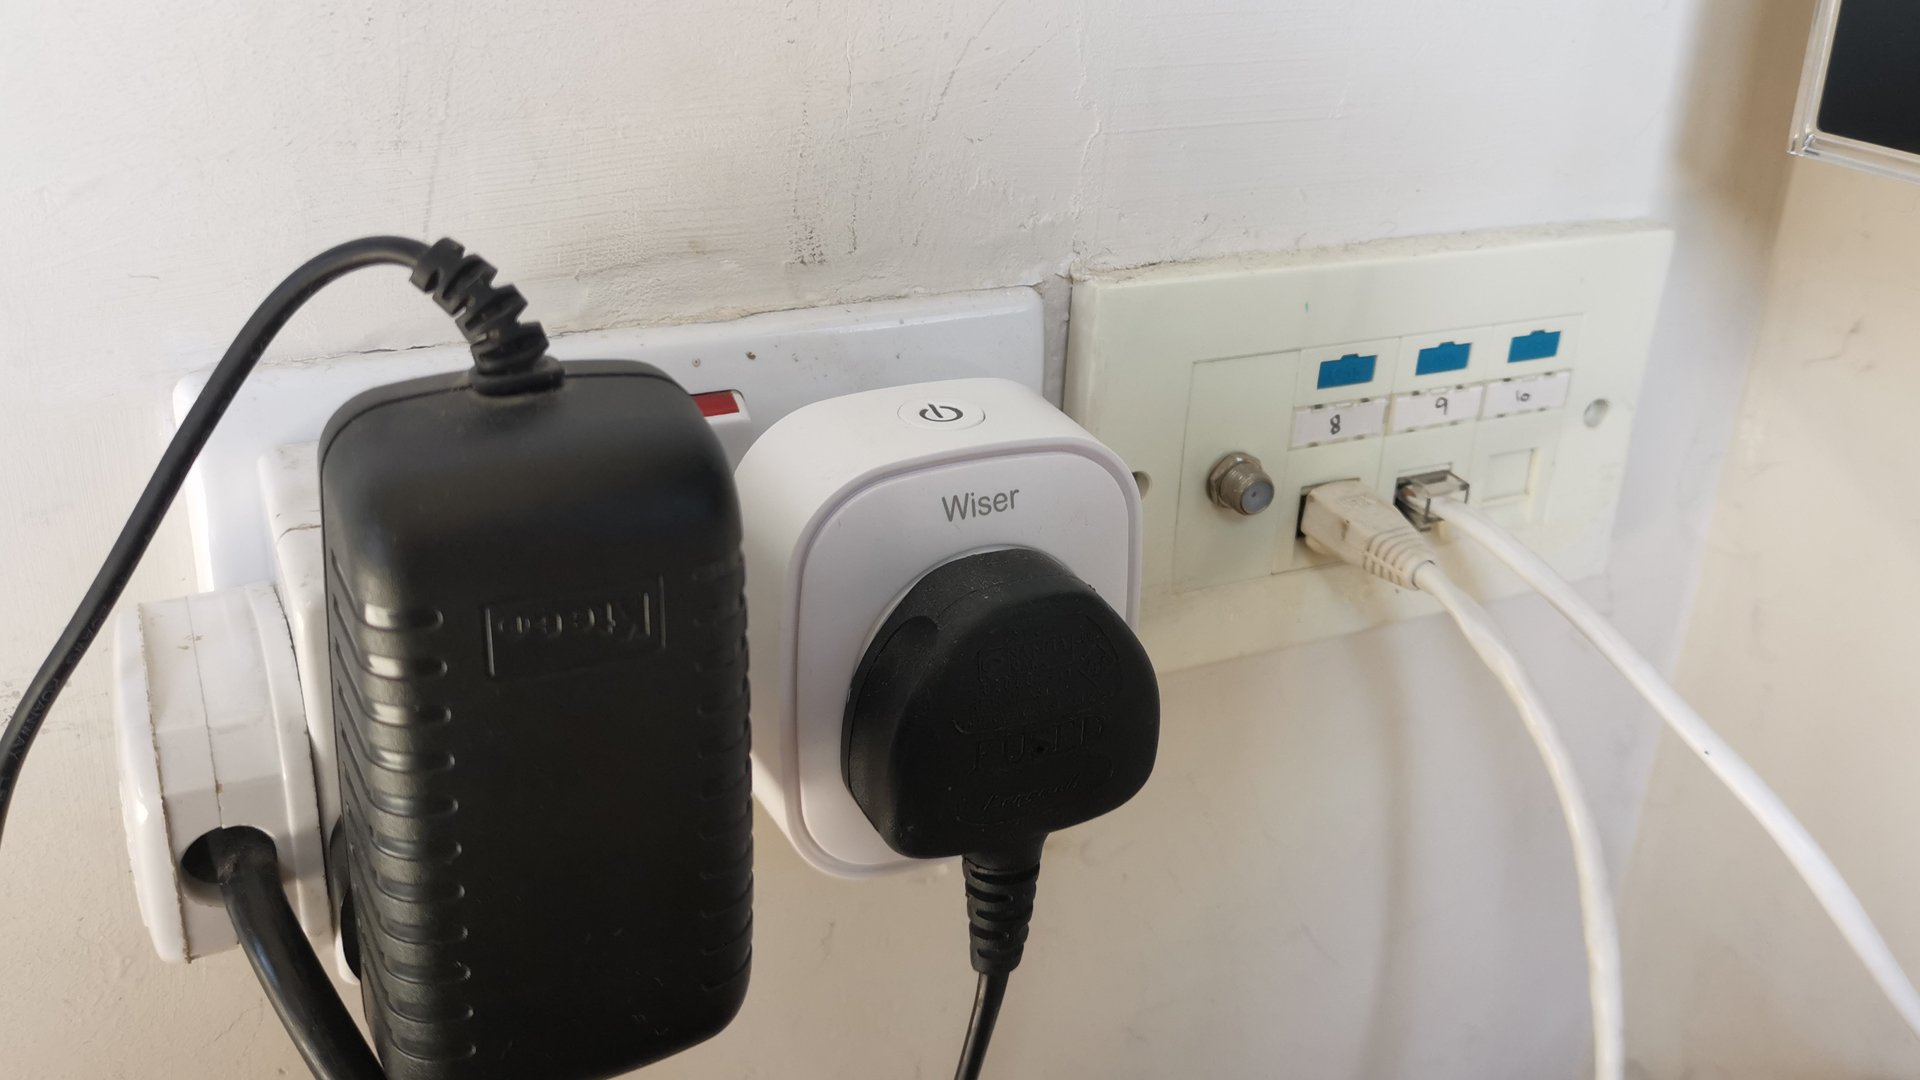
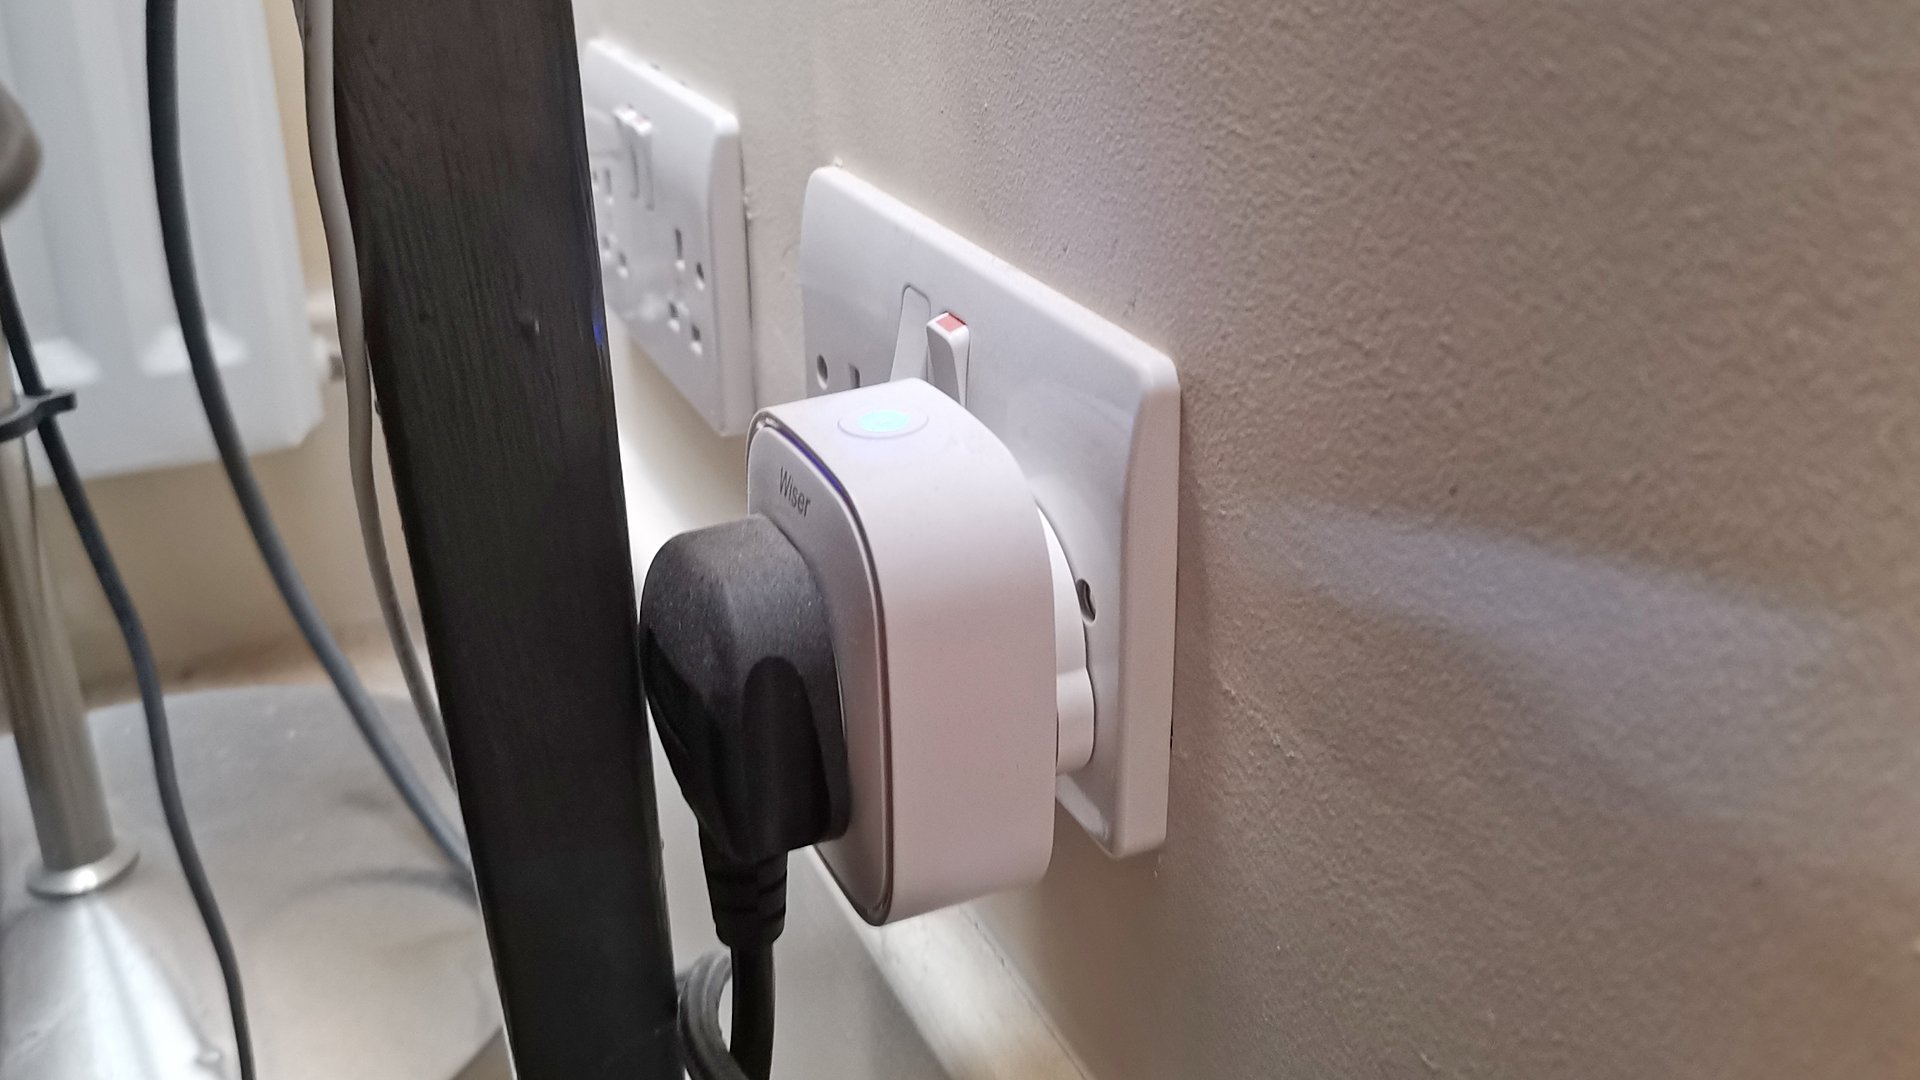
Now these things aren’t really necessary for me to plug any gaps in my smart heating network, but they have become an essential part of day to day life in helping me save electricity - particularly for my editing suite - which I could never be bothered to stoop under the table to switch off each night. So I’ve set it and the other 3 devices around the house to switch off automatically at midnight each night.
There’s a third function for smart plugs that few know about at the moment, and that’s energy monitoring through Insights + - more on which in a minute.
I wanted to quickly talk about updates, because Drayton have always had a reputation for listening to user feedback and acting on it, and they’ve brought out two reasonably chunky updates this year.
Insights + I’ll come onto in a bit but Moments is the one I want to mention here.

On a system that is very schedule driven and has rather limited the voice commands that you can activate through Amazon and Alexa, they have nevertheless introduced a useful little tool where you can, at the touch of a button, activate heating in one or a series of rooms to a set temperature.
I find this very useful for when I’m working from home and want just my study heated, or more significantly at the weekend where I want all the downstairs heating only to come on, and also going to bed, I can turn off all the heating at the touch of a button.
Each Moment can also be handily accessed from the top of the Home Screen of the app.
savings
Let’s have a quick chat about savings. Drayton claim on their website that by just switching to a best practice thermostat can save 12% energy alone and 6% more with a smart internet connected thermostat - being able to control your heating room by room through the smart radiator thermostats saves up to 18% on energy usage. The two smart modes on the Wiser system, Away mode and Eco mode can save an extra 14% and 2% respectively. Eco, by the way, is where the Wiser system switches off your heating early depending on the weather, and after it has learnt about how well your home retains heat.
Now I’m going to disappoint some of you as I can’t put an exact figure on the savings for me as I have heating oil in a tank in the garden making it difficult to measure usage and the app here doesn’t help as I’ve just realised you can’t go back more than 3 months. - Drayton you need to fix this, but in the past it has on the face of it delivered up to 30% savings, and you’ve been brilliantly helpful in telling me the savings its delivered to you 0 Chris Scott says his gas use is down 30-35% - he by the way has his hub in the downstairs utility and has no connectivity issues in a 5 bed three storey house.

Now I’m going to disappoint some of you as I can’t put an exact figure on the savings for me, as I have heating oil in a tank in the garden making it difficult to measure usage. The app doesn’t help as I’ve realised you can’t go back more than 3 months - Drayton you need to fix this.
But in the past it has, on the face of it, delivered up to 30% savings, and you’ve been brilliantly helpful in telling me the savings its delivered to you. Chris Scott says his gas use is down 30-35% - he has his hub in the downstairs utility and has no connectivity issues in a 5 bed three storey house.
And you’ve only got to scroll down the rooms in the app when the heating’s on to see how many eco mode has switched off because they’ve reached temperature.
And you can see this in action - how Wiser takes into account the thermal efficiency of our homes and the outdoor temperature to tailor our heating - by looking at the heat reports in the Insights section of the app, and these do go right back to when I installed the system.
Two other points to make here. Enhanced insights are available through Insights + if you’re lucky enough to have a Smet 2 smart meter. Sadly mine is only Smet 1 and I understand from Drayton they will be using Insights + to shift the way you think of Wiser, from a heating system into more of an energy management system in the future. Insights+ will be able to analyse your heating by reference to the tariff you’re on and tell you exactly how much your heating cost for a particularly period, and even manage EV charging and the electricity saved in your power banks from solar panels and charging directly from the grid during cheaper off peak times.
opentherm
Let’s have a quick chat about Opentherm - which it was hoped would really supercharge the efficiencies and savings you can get through your smart heating system.

What do I mean by this?
Well, typically when you call for heat your boiler will either switch fully on, or fully off. Opentherm is where your boiler modulates or only powers up to the extent required to heat the rooms you’ve asked it to. It was hoped it would become industry standard with all the boiler manufacturers subscribing, but sadly they haven’t, and in a bid to tie us into their system with extended warranties and the like if you adopt their controls they’ve developed their own versions of it e.g. Worcester Bosch with EMS. The upshot of all this is that Drayton, for example, has to date only been able to make Opentherm compatible with their Wiser Kit Combi version.
Jon Giles got me excited by pointing out there’s a Nefit Opentherm adaptor he was hoping to be able to fit to his Worcester Bosch boiler, but sadly my 10+ year old Greenstar Camray isn’t compatible with Opentherm - and even if it was, I’d need to change my plumbing and fit an integral diverter valve kit to adapt my Splan system to the EMS/Opentherm system.
What does that meant for us in the meantime? Well if like me you don’t have Opentherm then fear not, as Wiser operates what’s called load compensated control to kick the boiler in and out when required. It’s basically a less elegant, more reactive version of Opentherm. As Dan at Drayton pointed out to me, even Opentherm has its disadvantages as by operating the boiler at lower power it’s going to take longer to get up to temp albeit when it’s there, it will maintain a much more consistent temperature .
There’s still plenty we can do to make our systems more efficient - and right up there is the critical need to balance our radiators - something I haven’t done properly on my system. It’s a bit of a rabbit hole because the lockshield - which is the opposite end to the TRV and typically sits on the return pipe - opens up differently depending on what design of lockshield you have. So, it’s almost impossible to say how much flow you’re allowed by making a half turn or a couple of turns on the valve. There’s a great video by Heat Geek that explains this here.
There are a couple of ways you can set this but they’re fiddly. One is to buy a digital Thermometer Thermocouple Sensor and clamp one on the flow, and one on the return pipe to monitor the temperature coming in and going out of the radiator. You want the return pipe temperature to be no more than the magic 55 degrees at which water reaches its dew point and above which your boiler won’t condense - assuming it’s a condenser boiler like mine. If it’s not condensing it’s not working efficiently and will be wasting your money.

The other option is to buy an automatic balancing kit which means changing the lockshield and TRV valves on your radiator. James from Plumber Parts does a brilliant video here on this. But my issue with this kit is I don’t need the TRV because I have smart thermostats on all my radiators. Watch this space. I’ll come up with a solution and do a video on it!
premium services
Now Bram raised a really good point - about the danger of being tied into paid services (which is why he didn’t go with Tado) or just your system being rendered obsolete by the manufacturer going bust. Bram went with Evohome as it’s a fully functioning stand alone system - albeit without the Insights and a hub interface that some people say needs updating.
Dealing with the issue of premium services, some smart heating suppliers (e.g Tado with their £2.99 a month auto assist feature) charge for certain premium elements. Drayton haven’t done this to date, and in fact you could say their big opportunity to do so, with the roll out of Insights +, has now passed without them bringing in a paywall. There’s no guarantee this won’t happen, but so far so good that Drayton are going to keep Wiser off the subscription model.
But if you’re worried about paying for premium automated services, the longevity of the company who supplied your system, or even want to do away with the cloud altogether, you could embrace the open source Home Assistant software. Now this is a proper rabbit hole, but with a bit of tech savvy and a small computer like a raspberry pie, or off the shelf hardware like Odroid, you can integrate your smart heating system into a sophisticated home automation ecosystem where you’re powering multiple devices including your heating.
Mike has integrated Wiser into Home Assistant and can schedule away mode so he doesn’t have to remember to turn it off and has better control over valve signal strength and can activate heating schedules based on occupancy.
Millie meanwhile uses it for better information graphs and a better view of how the house reacts to the weather. Millie kindly copied me the integration they used, so click here to view.
And to give you an idea of what Home Assistant is capable of, our resident expert Joe on our Discord forum says the real value is how you can combine stuff. For example, if he starts playing a movie it dims the lights to 10% if he pauses the move to get a beer it raises them to 50% and then drops them again when the movie resumes.
I’m not sure I’m technical enough to embrace this right now but I’ll be keeping an eye on how Home Assistant develops.
conclusions
A couple of things to end on. Firstly, Drayton have brought out an underfloor heating controller since I did my video 14 months ago, and also an electrical heating switch to control larger devices like towel rails, and electric and plinth radiators.


And finally, this video isn’t just about Drayton. In the Community Tab and in fact in the comments below my original video you’ll find a wealth of recommendations from everyone on the systems that work for them. Evohome - even though it doesn’t have insights and the user interface is getting a bit dated (according to Anthoine). And Tado, Type 17 has Netatmo along with the Netatmo weather station outside - which is more accurate than relying on regional weather info. And Hive have also featured amongst your recommendations. So check out those comments for more info.
And clearly I’m going to have missed stuff here, and immediately it springs to mind that I haven’t found the open window detection to be very good - which is meant to turn off the radiator where a draught is detected, but hasn’t seemed to for me. So do let me know in the comments section below what I’ve missed and what your experiences are, as this will massively benefit anyone watching, who is thinking of installing the Wiser or other smart heating system.

See you soon! Once again, massive thank you for reading and watching. Feel free to leave a comment below and let me know how you get on with your own project.
Oh, and if you’re new to my YouTube channel, click on the link here to subscribe!
I’m always looking for ways to make this sustainable now I’m doing it full time, so if you like my content and to help me keep providing it here on this channel for free, I would be so grateful if you could visit my Patreon page, to support me. For just £5 per month, you have daily contact with me through my Discord member forum behind the scenes videos and automatic entry to my free monthly giveaways. Please click here.
* The Amazon links above are affiliate links. It doesn't cost you anything to click on them but I do earn a small commission if you do.
And here's the legal bit I have to state: As an Amazon Associate I earn from qualifying purchases.